

10 Apr Entryway – Walls are done !
Hey peeps !
Okay so, last you saw me I was getting ready for my « super easy washi tape Pinterest-inspired project, like oh my god so easy you guys ».
Muahahaha. How life laughed at me.
Meanwhile, in the real world, money and time intervened big time to ruin my dreams.
If I had the budget I’d have ordered 50 rolls of washi tape « just in case » and marveled at how much left there was and easy it all was, and probably rolled around in it like it was money. But alas, I ordered but two rolls, like a freakin’ idiot thinking it was plenty, and marveled at how it covered like half of one wall. With 4 walls to go. Hum.
Fine I thought, what a stupid setback, I’ll order two more. Cut to a hilarious game of hide and seek with my concierge who received the package but was never around when I was (set to Yakety Sax…).
As if I hadn’t wasted enough time just waiting around for my package, whaddaya know, I need more. But not a lot more, oh no, just for the last two stripes above the door. So a 20″ x 10″ space. I had to dance-punch my anger for a while after that.
Now this whole thing wasn’t helped by the fact that it’s really hard to find MT Casa Washi Tape in stores in Paris for some reason, so I had to order it online and it always took at least a week to deliver. Since it was always halfway done or almost done I couldn’t bring myself to take pictures so this reveal ended up taking forever ! I honestly could’ve finished in two days without the waiting around…
Now all of this crap aside, the big silver lining is that the actual taping is sooo easy.
The tape is da bomb, and if you’re thinking of using it to put up art for instance, I totally recommend it, it’s got amazing staying power.
It’s impossible to mess it up, which makes it a DIY-superstar in my book. Once you’ve found your rhythm, the tape basically stays straight by itself so I didn’t even have to be super careful about veering off course. Even with the corners, which have the potential to be a logistical nightmare, it was a total breeze to just “follow” the tape.
So there’s not much DIY secrets here, it’s super basic, just unroll it, make the shapes you want, reposition at will, it’s very simple.
Anyway, this is more of an eye candy post ! So let’s skip to the before and after !!
![]() You remember this sad empty room ….
You remember this sad empty room ….
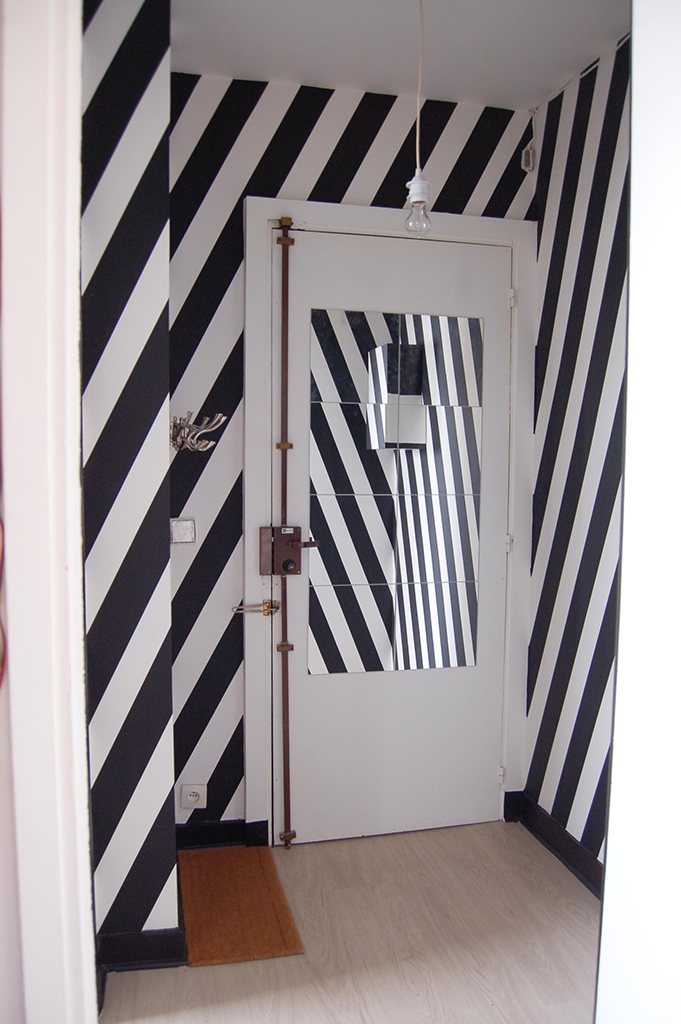 Now it’s a sassy stripy beauty !
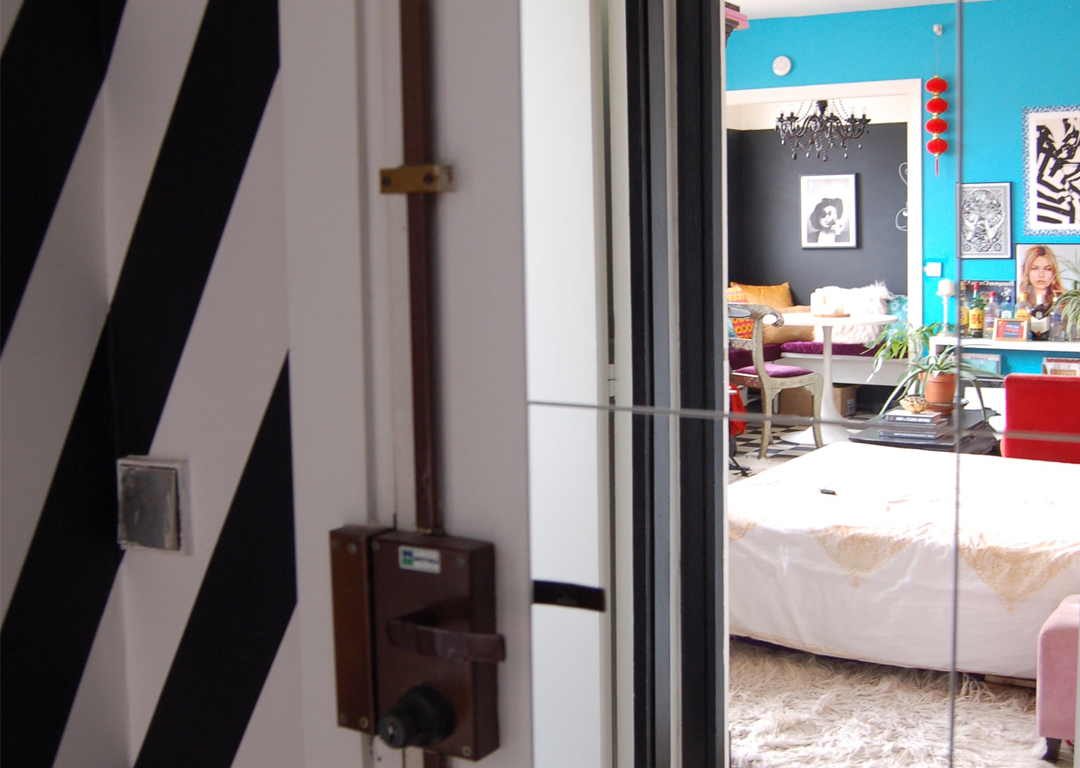
![]() As a bonus, from this view, everything else in the apartment was empty and white, so the after has quite the impact…
As a bonus, from this view, everything else in the apartment was empty and white, so the after has quite the impact…
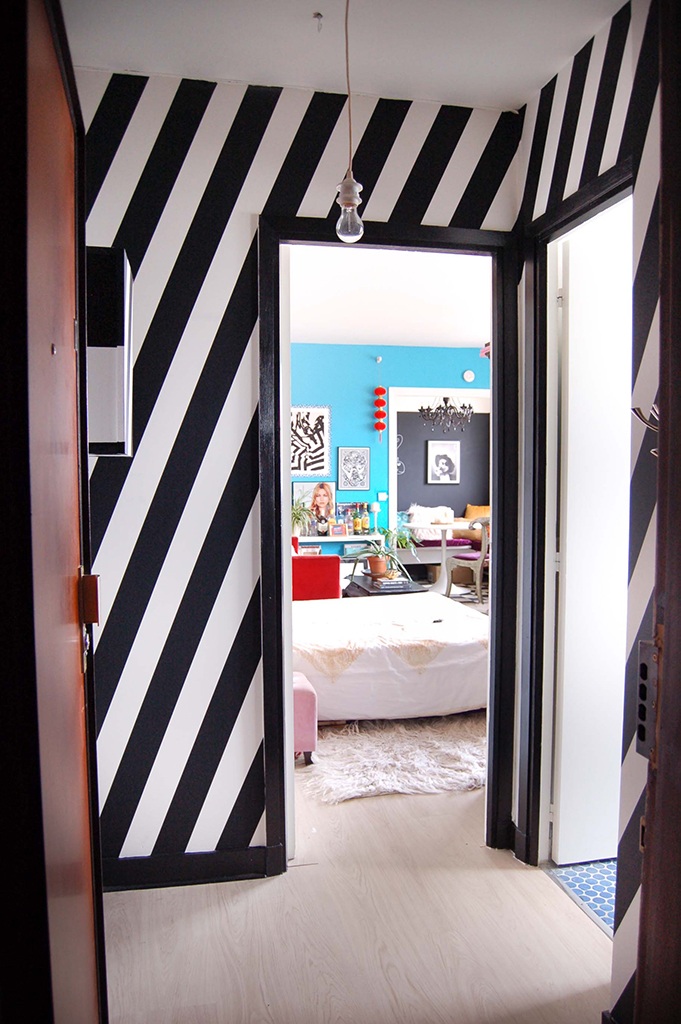 Wooooh, now that’s some serious change ! And you can’t even see the brick wallpaper. This place feels almost done !
I love the result so, so much. It’s bold and cool, and fun, and it makes me smile every time I walk through the door !
I had these cute self adhesive mirrors I’d bought on sale from Ikea hanging around the house, which I was planning on gluing to the inside of my closets but I thought it might be a good way to open up the space so I added them to the front door. They’re super light weight and held by with some very powerful glue so no fear of them shattering any time soon, even if I dramatically slam the front door after announcing some terrible news in my silkiest nightgown ! Also they were 6$ for the bunch so scoooore !
It’s made me rethink my mirror situation and I’ve got some ideas cooking for the living room … Mirrors are a decorator go-to for small spaces because it tricks the eye into thinking your space is bigger (we are not smart you guys), but for some reason I was reluctant until now. But change is a comin’ !
Unfortunately despite all that time I still didn’t manage to find the storage piece I’m looking for, but I still have hope it’ll happen soon so I can hide my ever-growing shoe collection …
I did add my super sexy articulated coat rack to the wall :
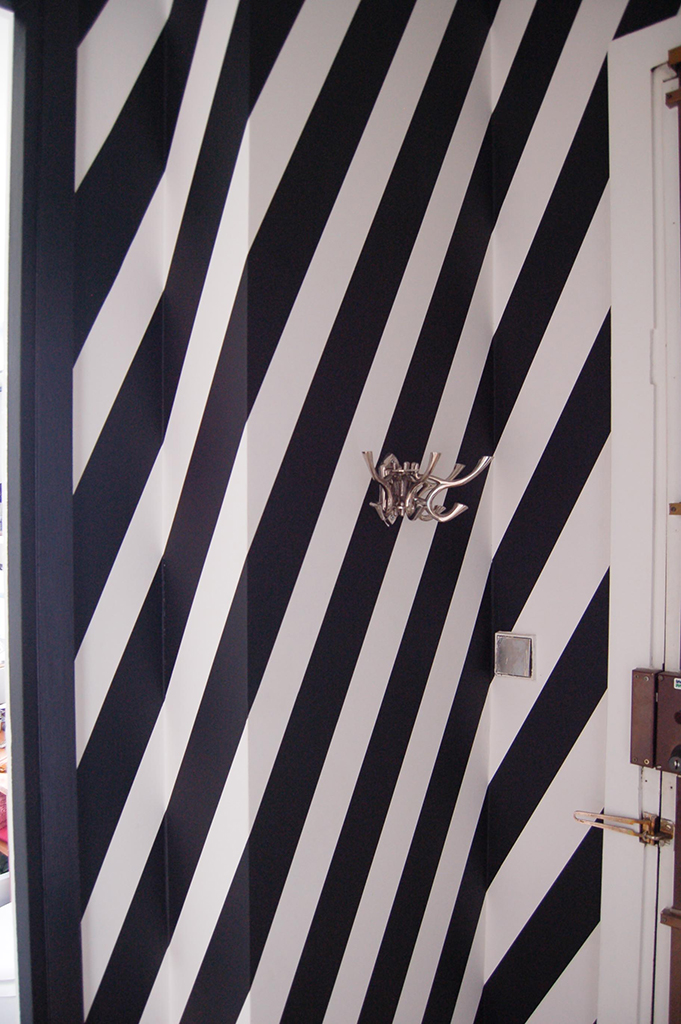 It’s the best.
Now that’s the walls are done, I’ve reworked my plans a tiny bit, I’ve started a bit of a « thrifted gold frames » collection so I’m going to make it a theme in there and only put up gold frames, it’ll look dope with the black and white theme. The frames will be going up once I’m 100% sure of what’s going in them. I bought them all completely hollow so they need a little work, and the wall is concrete which means I can’t make holes without consequence this time (yikes !). So this part will take a while but I’ll keep you guys posted.
Now during this project I did face a renter/small space problem : a big, ugly fuse box. You probably have the same problem. If you’re luck it’s hidden, if not, you’re not alone. So my wall was coming along perfectly, but the box is on the “gallery” wall and would completely ruin my pretty frame collection. Since I need access to that box once in a while, I decided to make a little magic and have it disappear in the stripes !
Here is my super-duper-easy DIY : the fuse box mask !
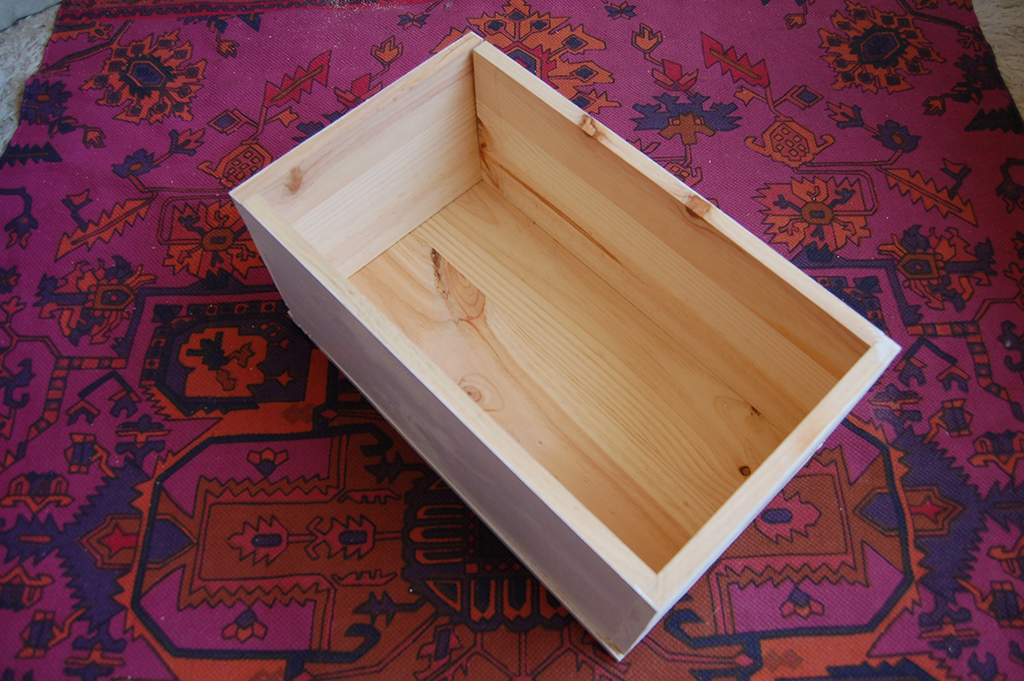 We created a super rudimentary box (made for free out of leftover wood) that can be placed over the fuse box
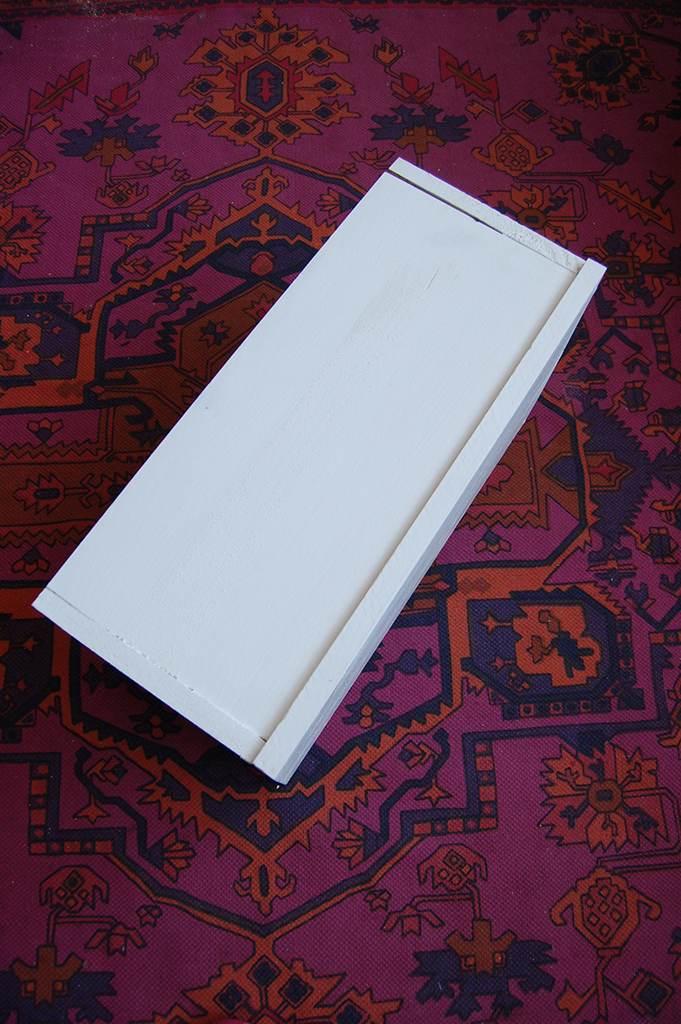 Painted it white
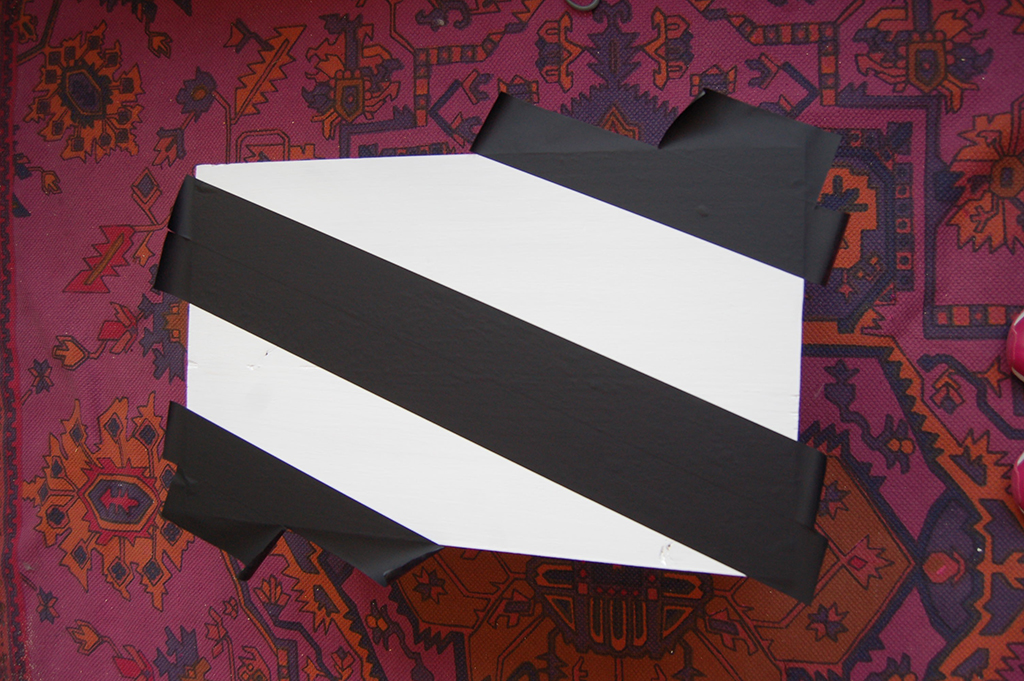 Covered it with some washi tape to match the wall stripes (now that I have tons leftover !!)
 Perfect.
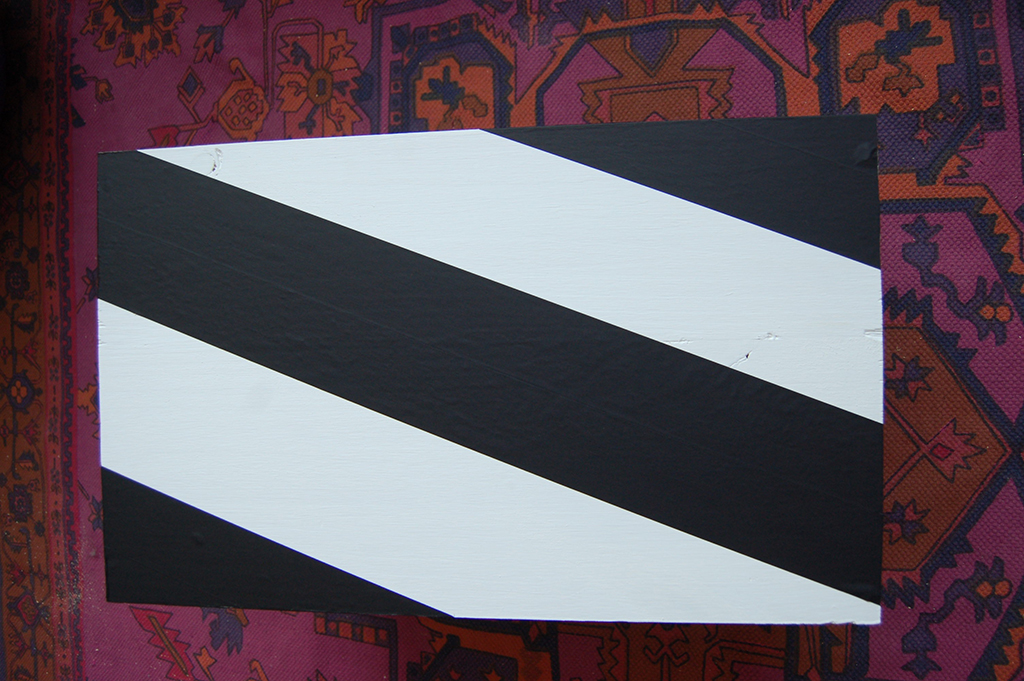
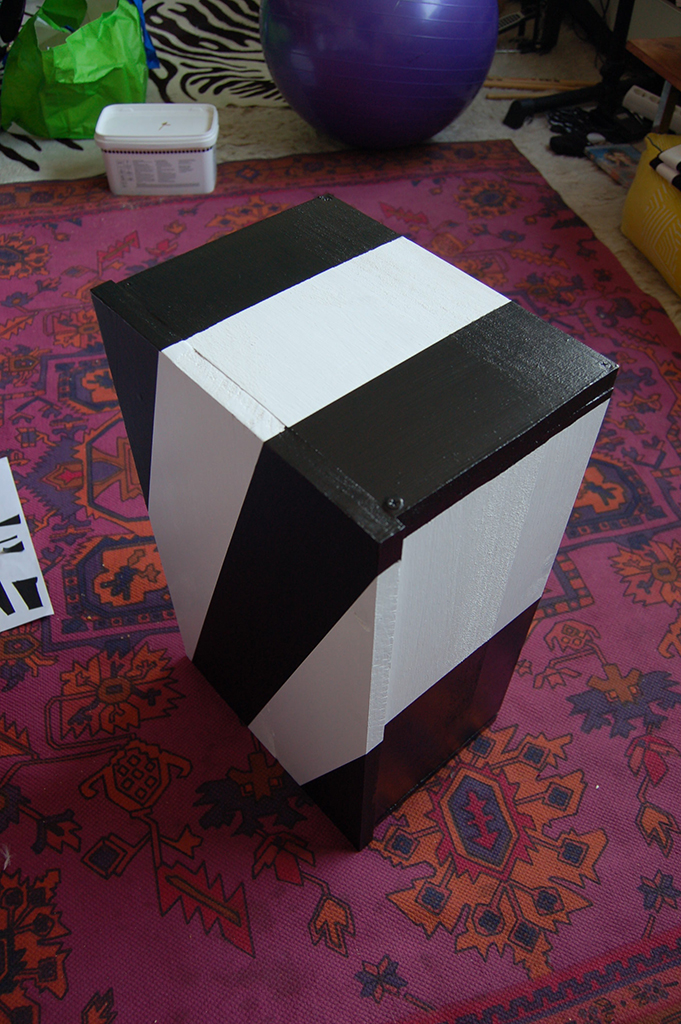 Paint the sides to match !
Ready for the magic trick ?
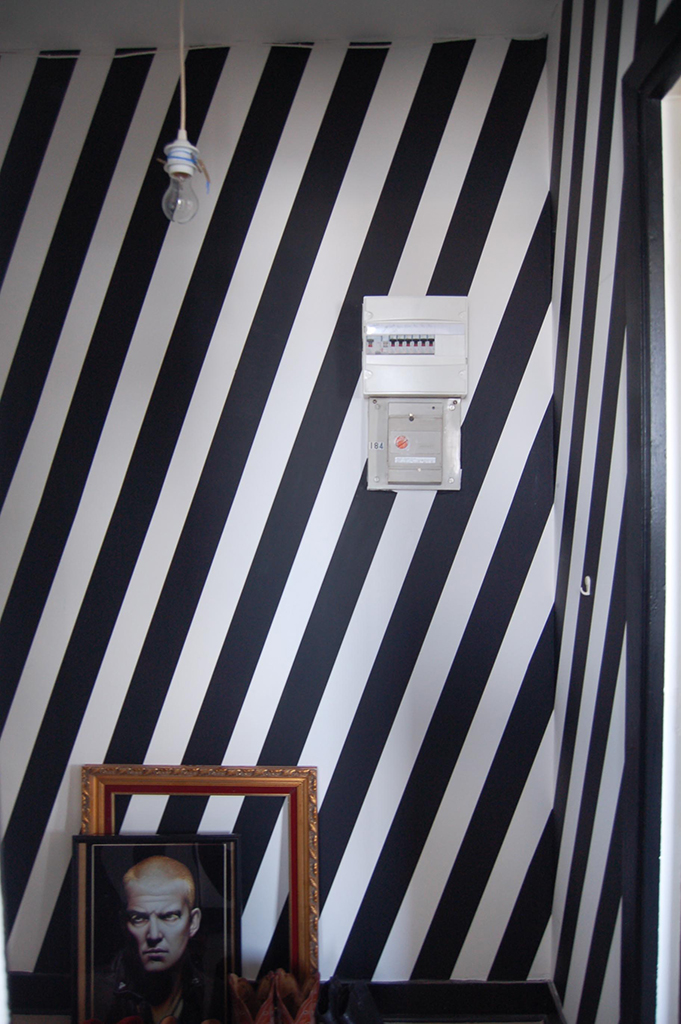 Ugly before view
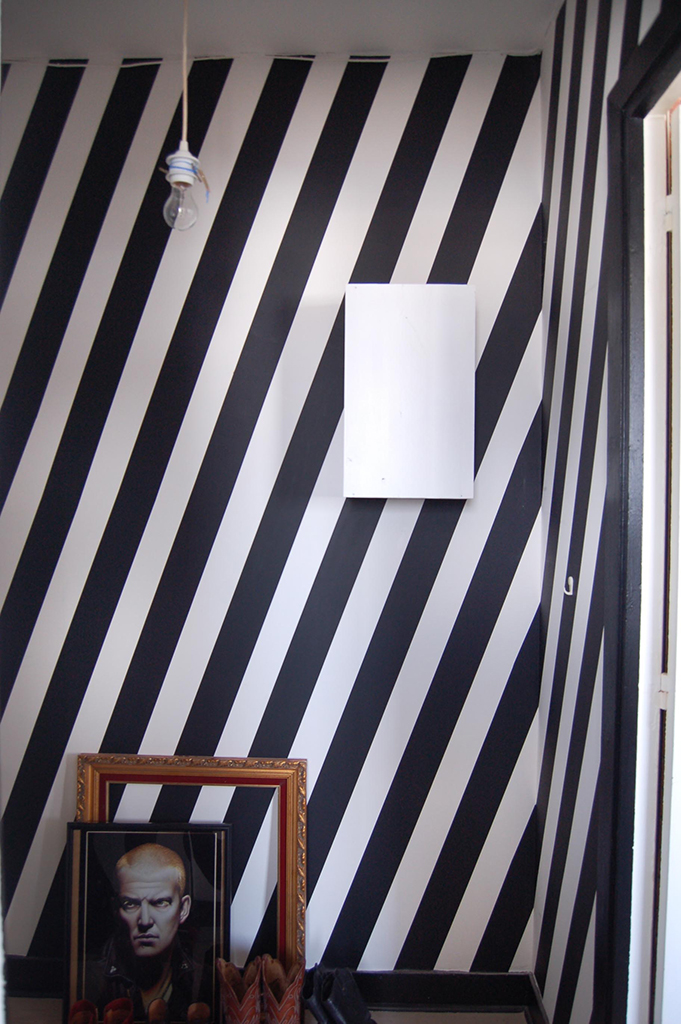 Abracadabra …
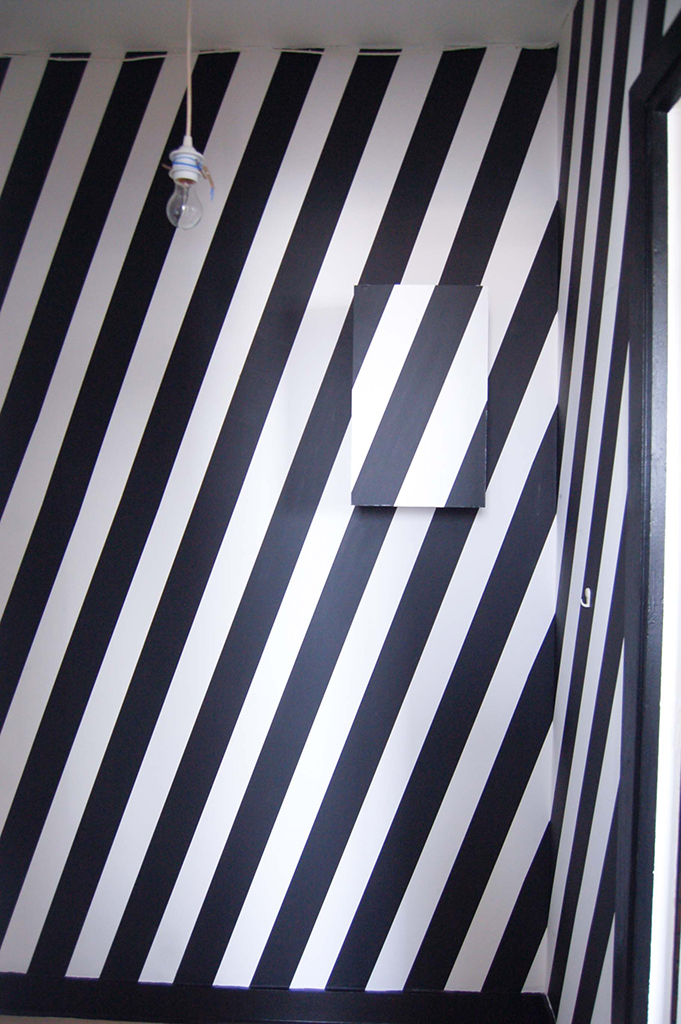 Poof !
 (I couldn’t resist…)
This is actually pretty awesome because it hides the box, AND it allows me to nail something fun on there if I want to, like a picture or a cool empty frame, or even put something on top, like a plant !
Next up in this space, the lamp is on it’s way up, I painted it pink and it looks adorable (though not finished), but now there needs to be some rewiring and electrical stuff done, and I can’t do that without dying so I’m waiting on some help !
Alright folks that’s it for today ! I’m still crazy sick so I’m going back to bed !
I’ve got a few other DIYs cooking so if you wanna see me getting glued to stuff, hammering my own fingers and painting my favorite shirt by accident, be sure to check back next Monday and follow along my wacky adventures !