

24 Apr Getting My Hands Dirty : The Ikea DOCKSTA Table Makeover !
Today in dumb ideas that paid off, I (finally) present : my Ikea DOCKSTA table makeover !
I’ve been wanting to share this for a while but I still had some finishing touches here and there, and then last Monday, once I was all set, I left home to travel for the week and when it was time to write up the post, I realized I left without the final photos …

Yup. Really proud of that one…
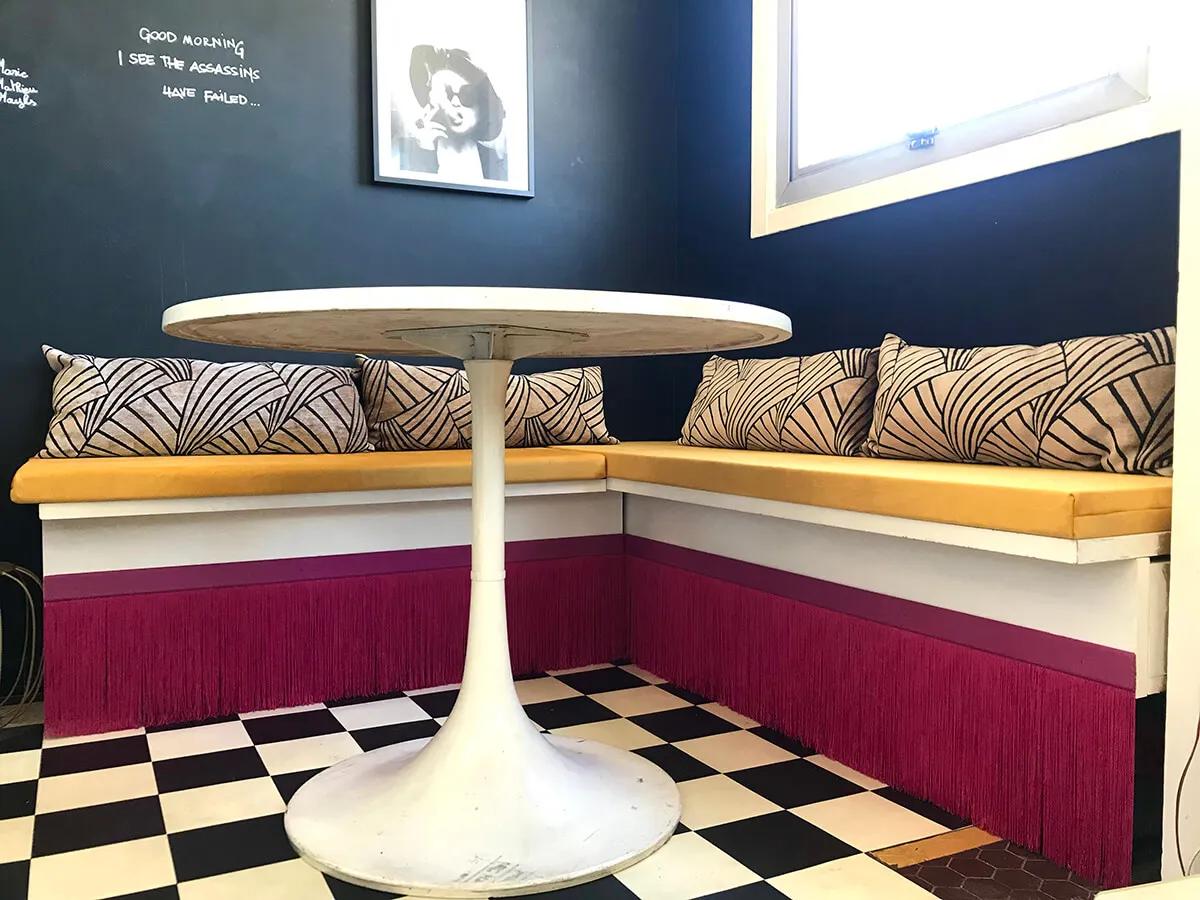
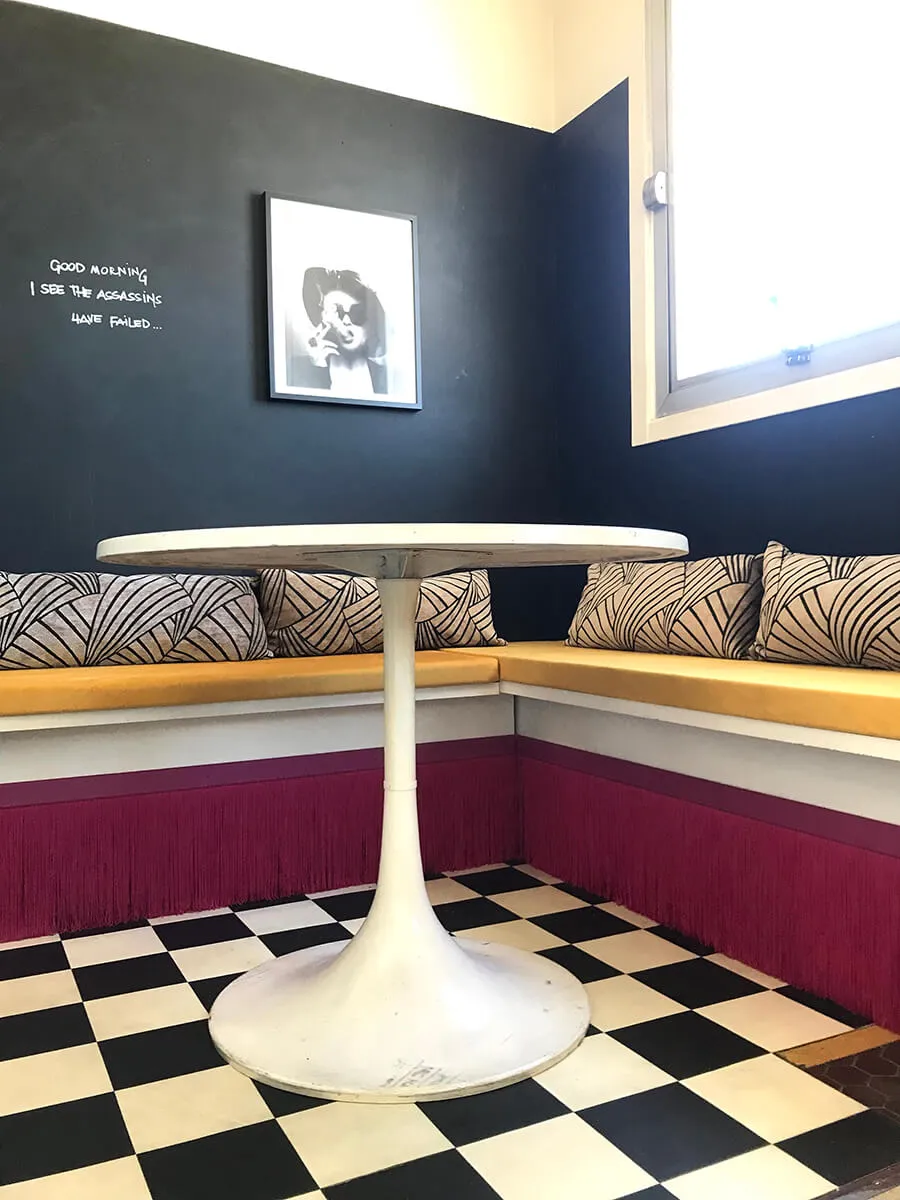
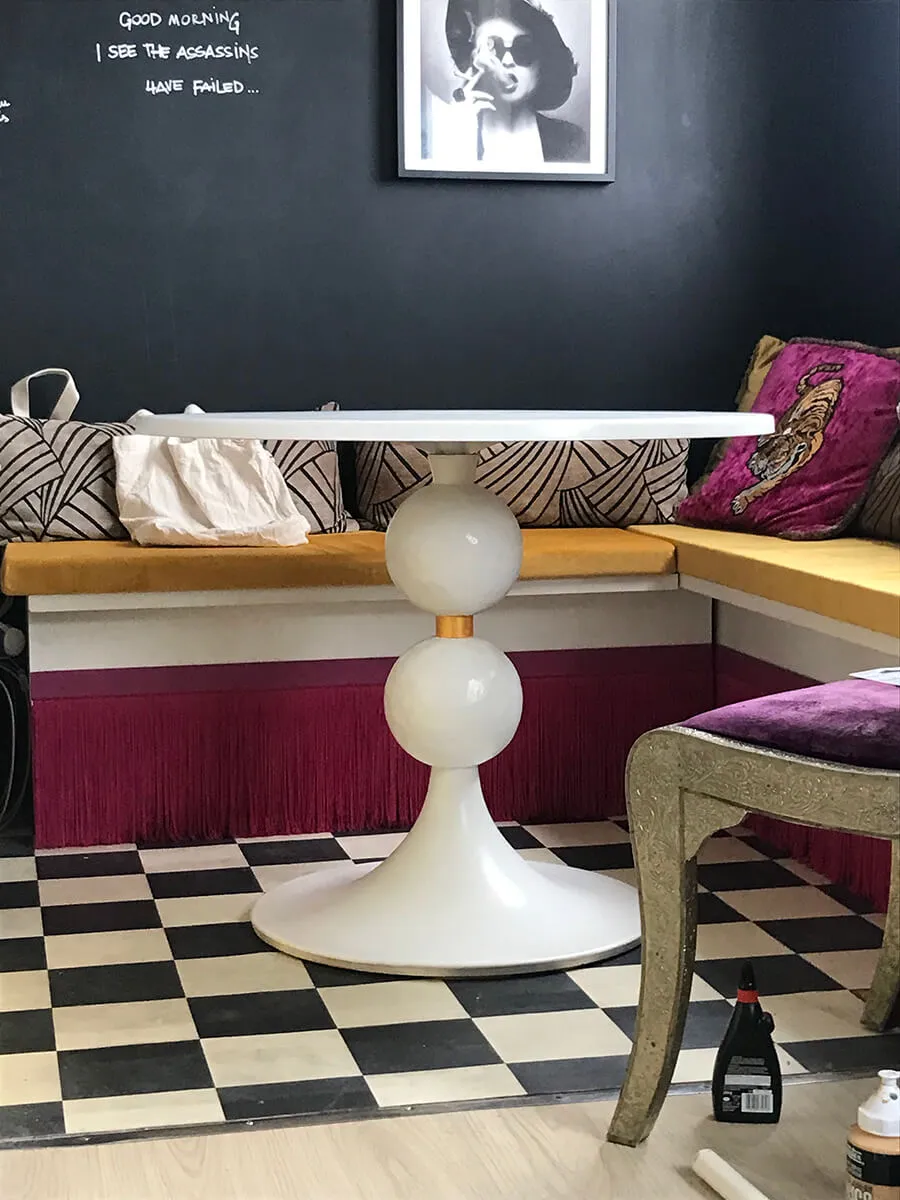
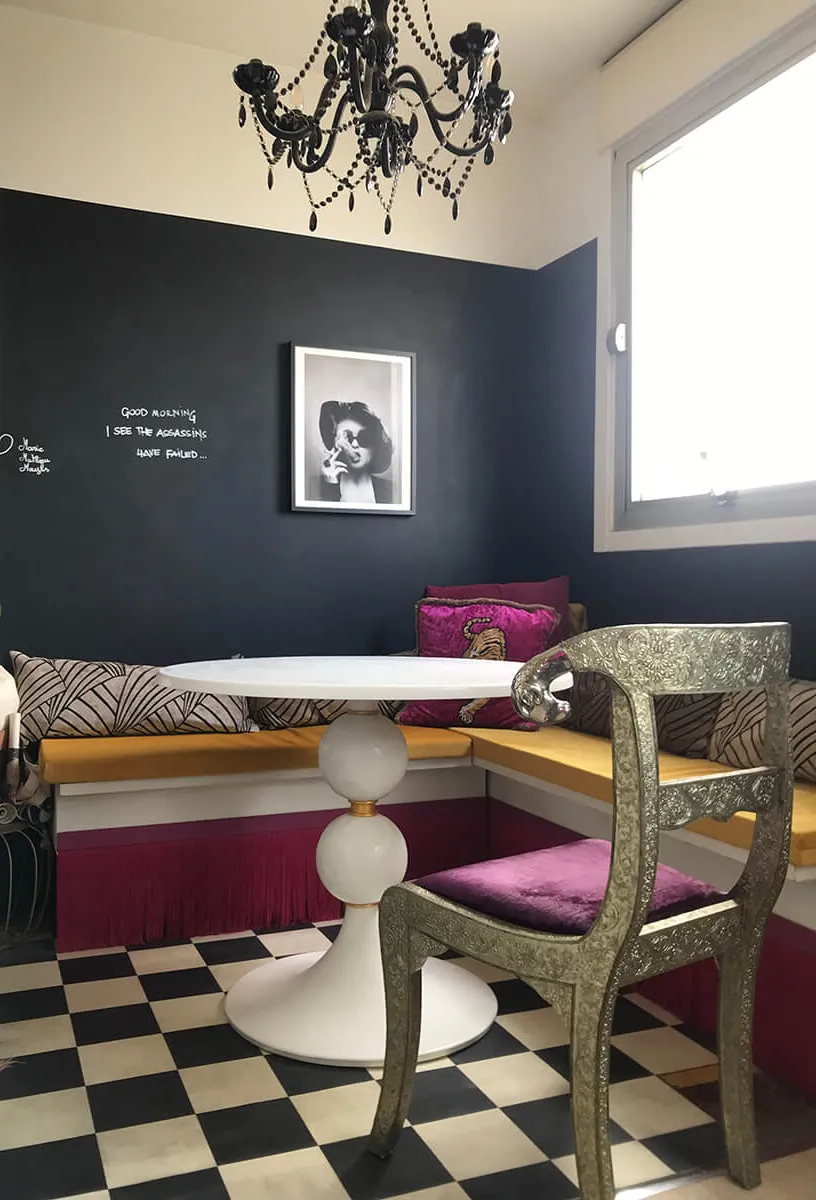
So let’s get up to speed ! This is the table (and the new banquette, hi girl! 🥰).
It’s a classic DOCKSTA dining table from Ikea, one of their most famous and affordable options through the years. I bought it … I guess 13 years ago – wow, I did not realize that until just now 😳 … for 20$. I am not kidding lol.
A friend and I rolled it through the streets of Paris because we didn’t have a car and the bus wouldn’t take us, so once unscrewed she took the base and I rolled the top on the sidewalk. Good times 😅
I repainted and varnished the top a few times through the years but apparently, and I’d never noticed it before this but I never bothered with the base ! So it’s been gross and scratched up since then and apparently I couldn’t have cared less. It has served me very well, and held up beautiful despite everything, not bad for a 13 y.o. 20 bucks purchase, I say !
In January, I got the idea to give it a new look with a bolder stab at a makeover – mainly after falling in love with this table
from my all-time favorite brand, TOV Furniture :
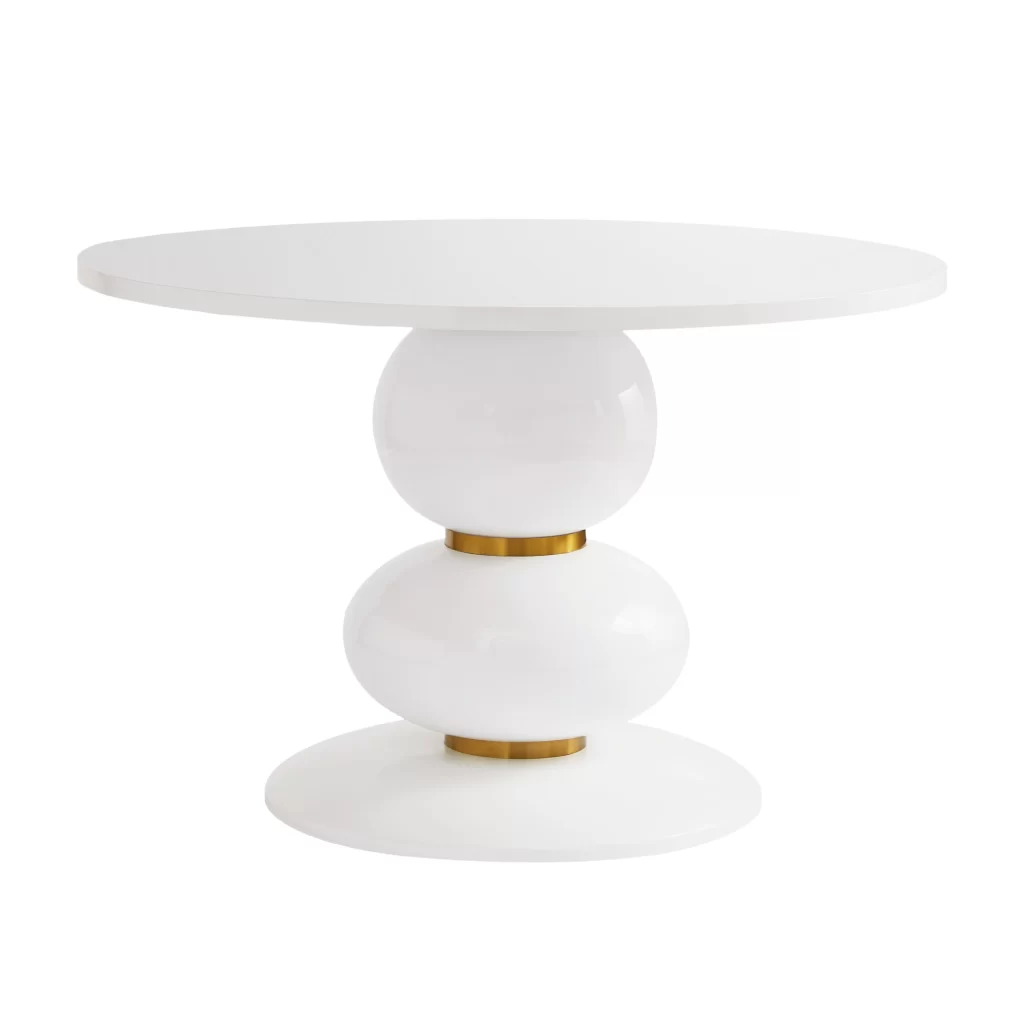
Now sadly, TOV doesn’t deliver to France and space is too tight in my little nook anyway for their real options, but if you can swing it, my god please buy it, come on, do it for me ! To tamper your expectations though, the result will not look like this, nor was it the goal – you’ve been warned … But the general vibe of that shiny white, the bubble design – which I’m obsessed with -, is what I was aiming for.
I also needed to keep the bubbles much smaller because the base of the Ikea table is curved, so visually it would be harder to have larger bubbles or have them be lower (not to mention a pain to create).
The other issue is that I spend a lot of time at this table and my legs are always flailing around, so I didn’t want me and other people to be constantly banging their feet on the base, or not be able to spread out. Also not knowing how resistant they would be – what if that broke one ? Too many obstacles ! So I kept it small and cute !
Before we dive in to the step by the step, one thing to keep in mind – this is the most flying-by-the-seat-of-my-pants DIY ever, making shit up as I went along and try stuff out. No idea if it would work, no pretty Pinterest tutorial handy, just a stupid, stupid idea and two somewhat capable hands 🤣 So kids, don’t try this at home !
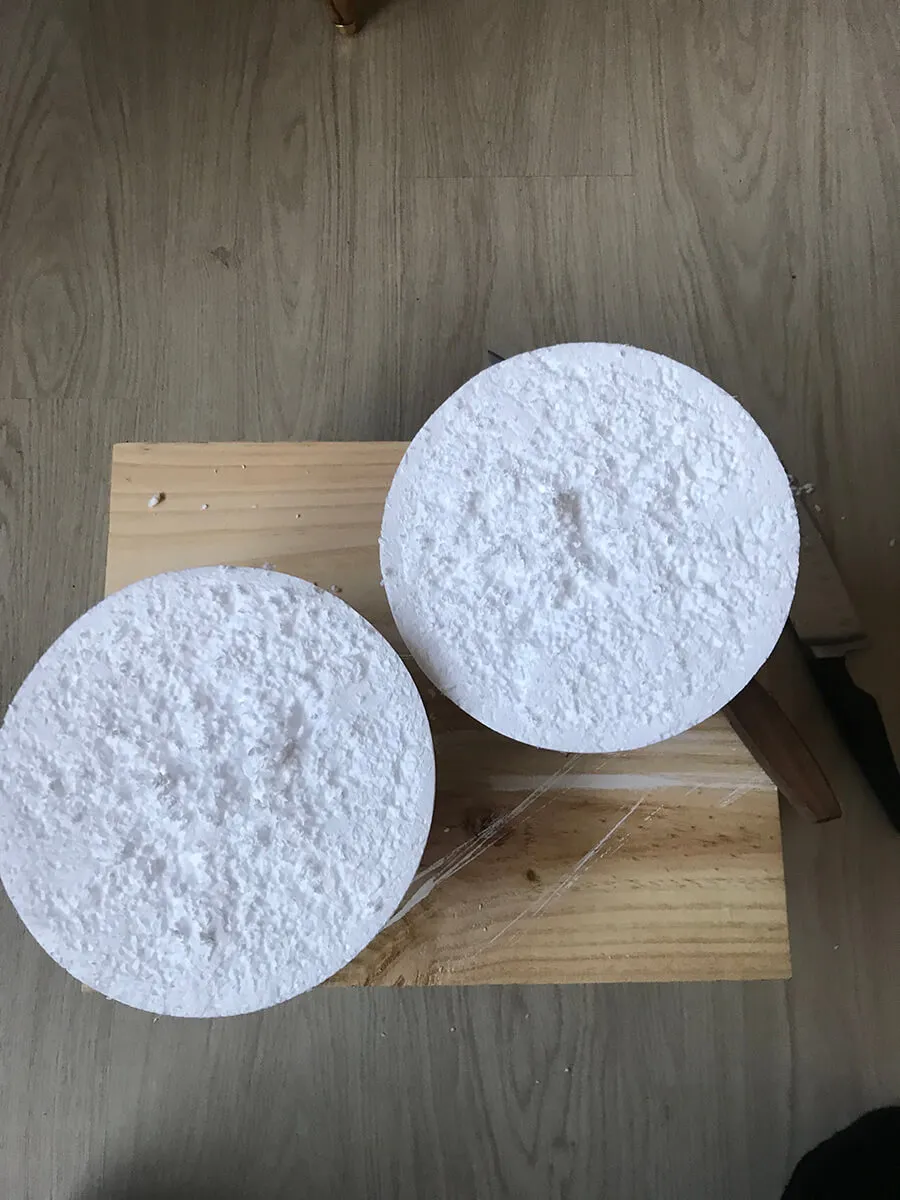
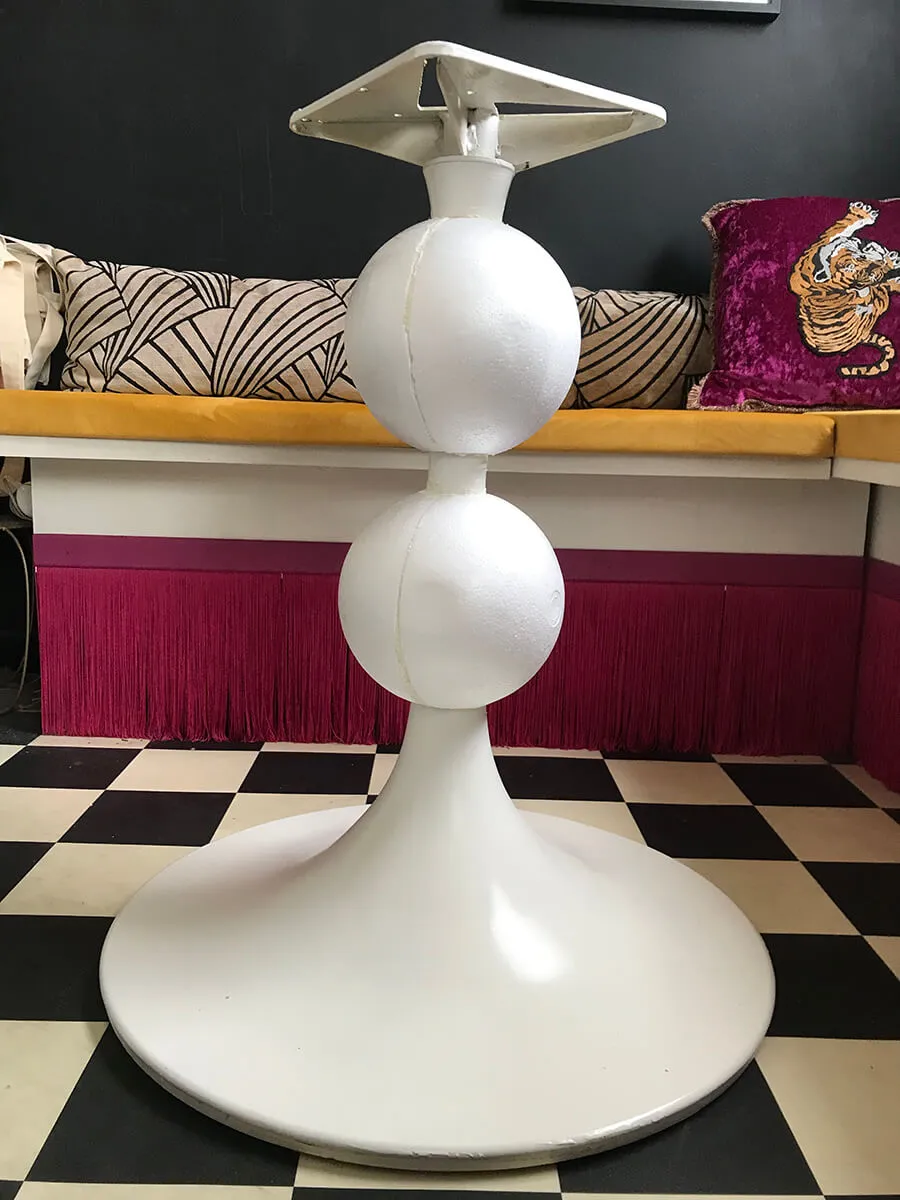
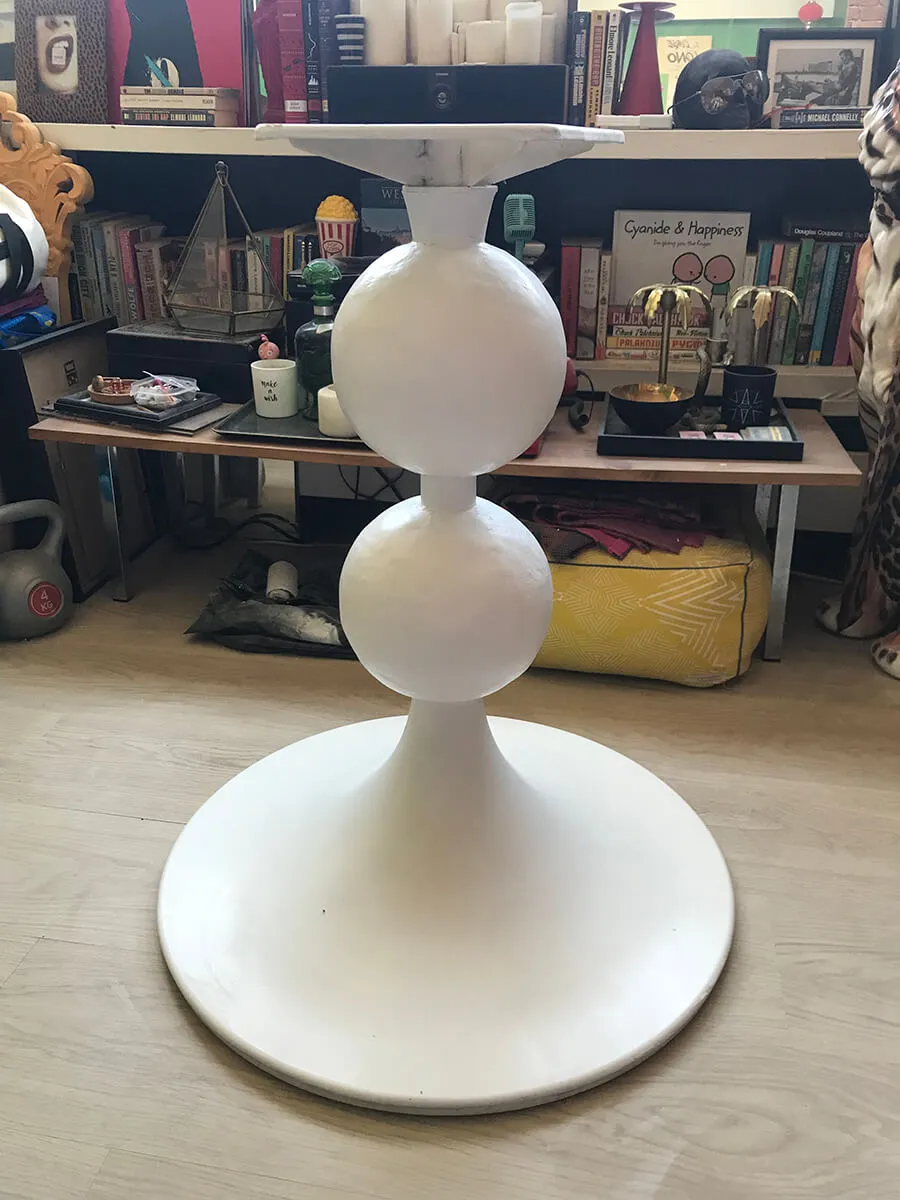
Alright, our first step is the biggest Eureka moment, suggested by someone much smarter than me : we’re going to create this bubble look with Styrofoam balls ! Now originally I wanted hollow ones like this but, why start off right when you can mess up right away, I ordered full ones without noticing 🤦♀️. Turns out, it was blessing in disguise since now they feel much more indestructible against wayward legs … The only downside is the giant mess as you can see lol.
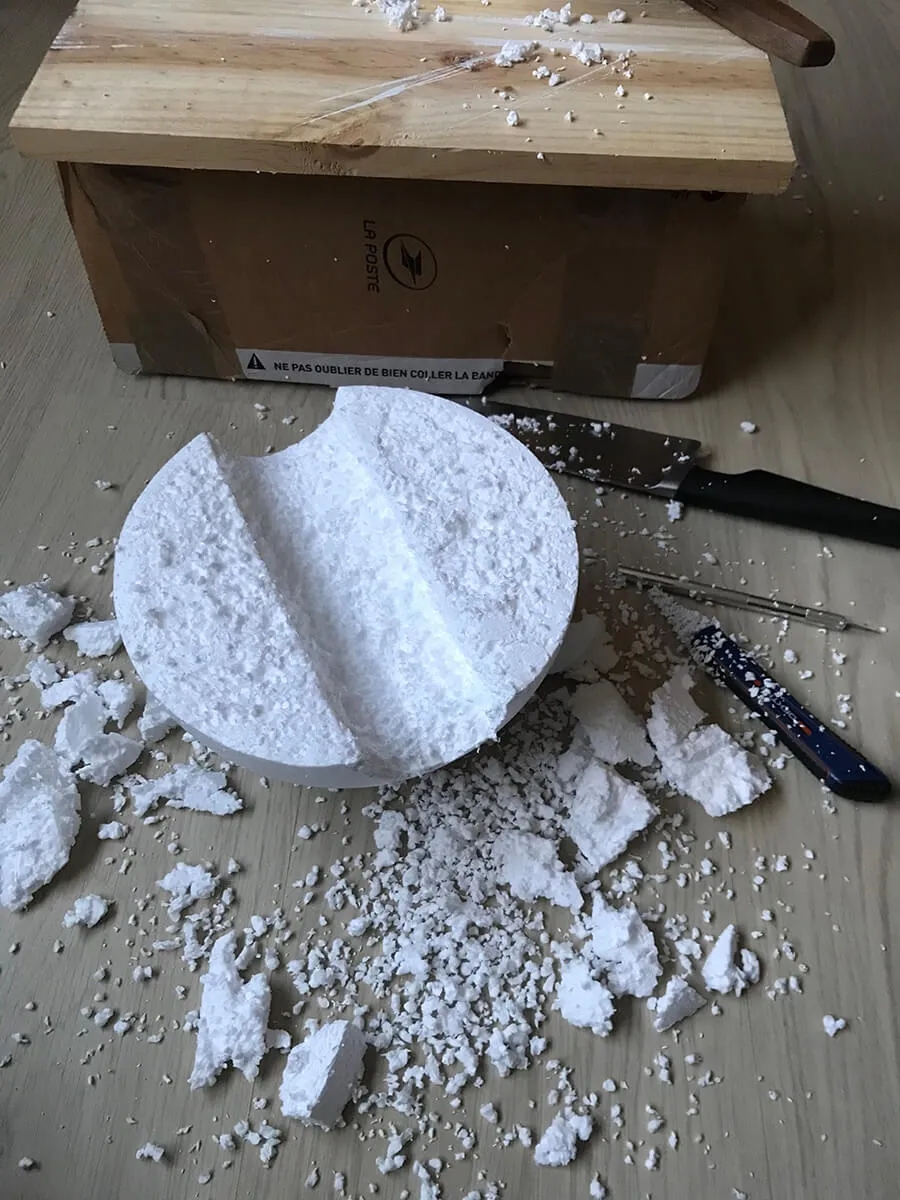
Undeterred I started hacking away at the middle part, making the general shape of the table base within it so I could glue them on each side, hopefully creating a round enough look. Clean up was the absolute worst. But on the bright side, I got both for 15$ so expenses wise, off to a good start !
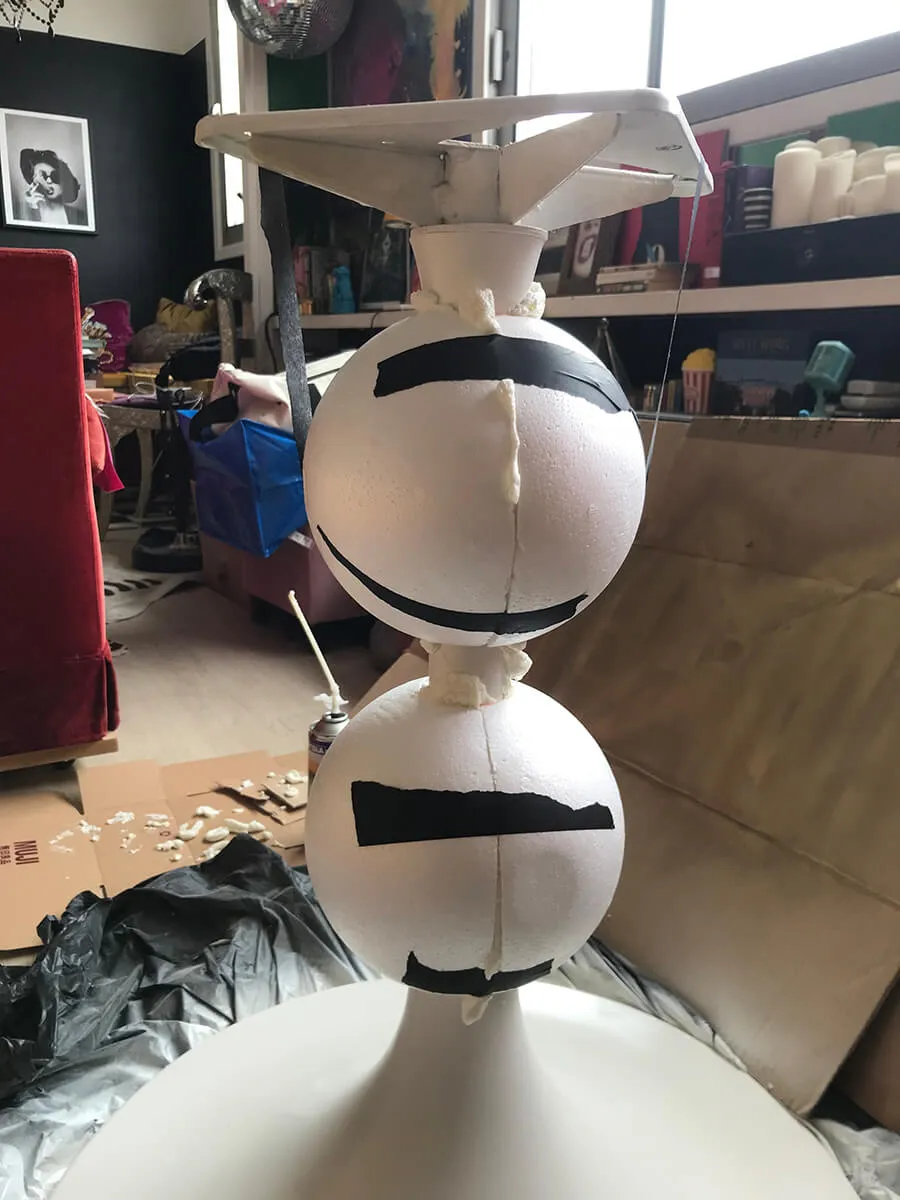
Next up came the big question : how the hell do I secure them on the base ? With hollow ones I’d imagined using hot glue if everything went well and my biggest worry was hot glue eating up Styrofoam, but with the hand carved new full option, it was a bit too uneven to try and wing it, so I went with a much wilder idea : spray foam ! My brain is just throwing out random shit at this point, and while I was not confident it about this at all – like AT. ALL. – it totally worked !
So left is our table before, and then to the right here, this is with the foam applied, and the balls taped up to let it dry fully. I applied it inside tunnels I’d made in the foam, so it would latch on to the table and then filled up the spaces where the balls didn’t quite meet the table or each other.
Then you let it dry fully, and cut off all excess foam peeking out with an X-Acto knife easy peasy ! Seeing this part, made me super happy, and it was extremely secured to the table and solid, no moving around !
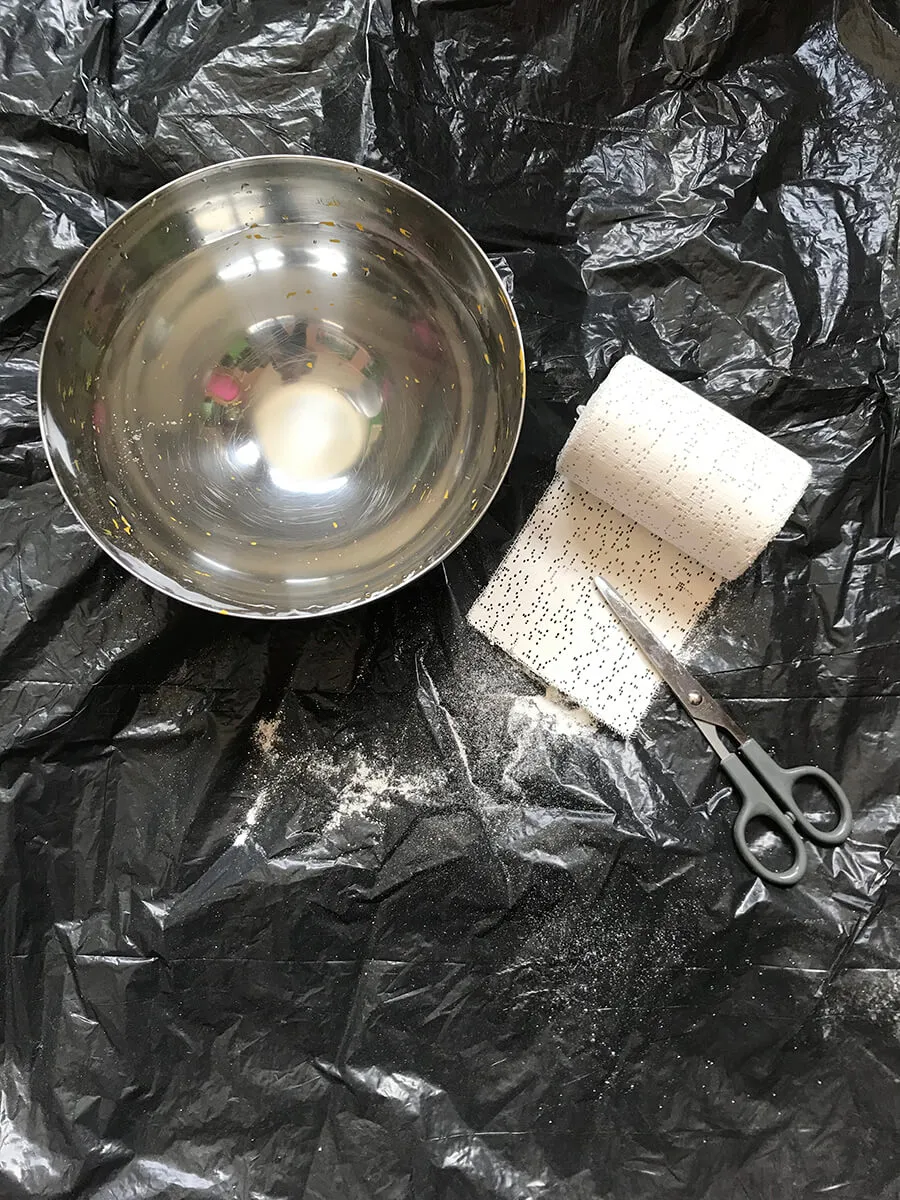
So it’s looking good, but as you can see up close, there are still a few gaps and the texture is of course 100% Styrofoam so I’m not just going to paint over that. Enter : plaster ! I decided to keep rolling with it and work on the surface look now that my shape was secured. At first I wanted to do just Spackle but with a round shape and a slippery surface, it would have been a headache to apply, so instead I decided to buy plaster cloth rolls ! (Plus, with the leftovers, I can make my own pinatas, so win-win 🤣).
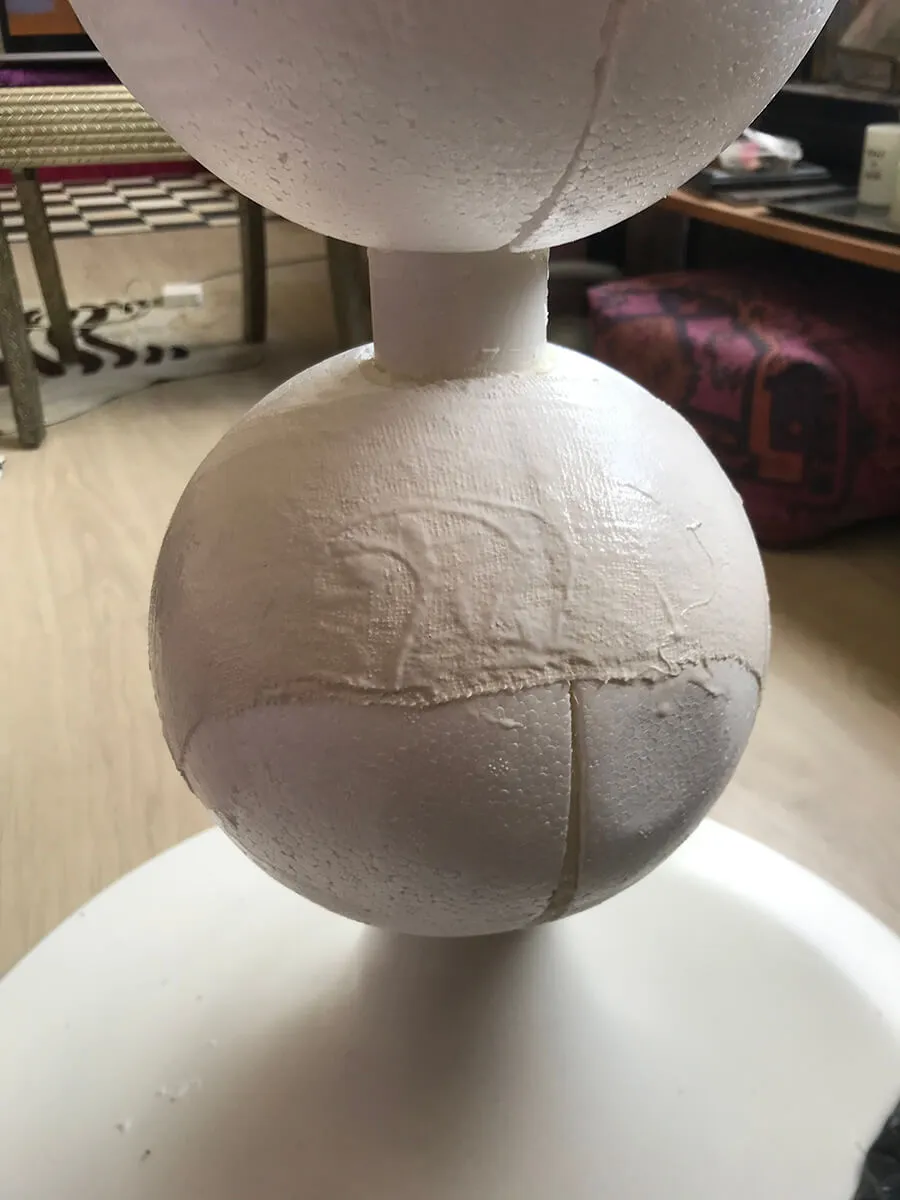
Now these were great, super easy to apply, and perfect for a round surface since they have a hold of the shape.
I only had to do one layer and it was all good !

From nothing, to dried plaster rolls, and a light sanding !
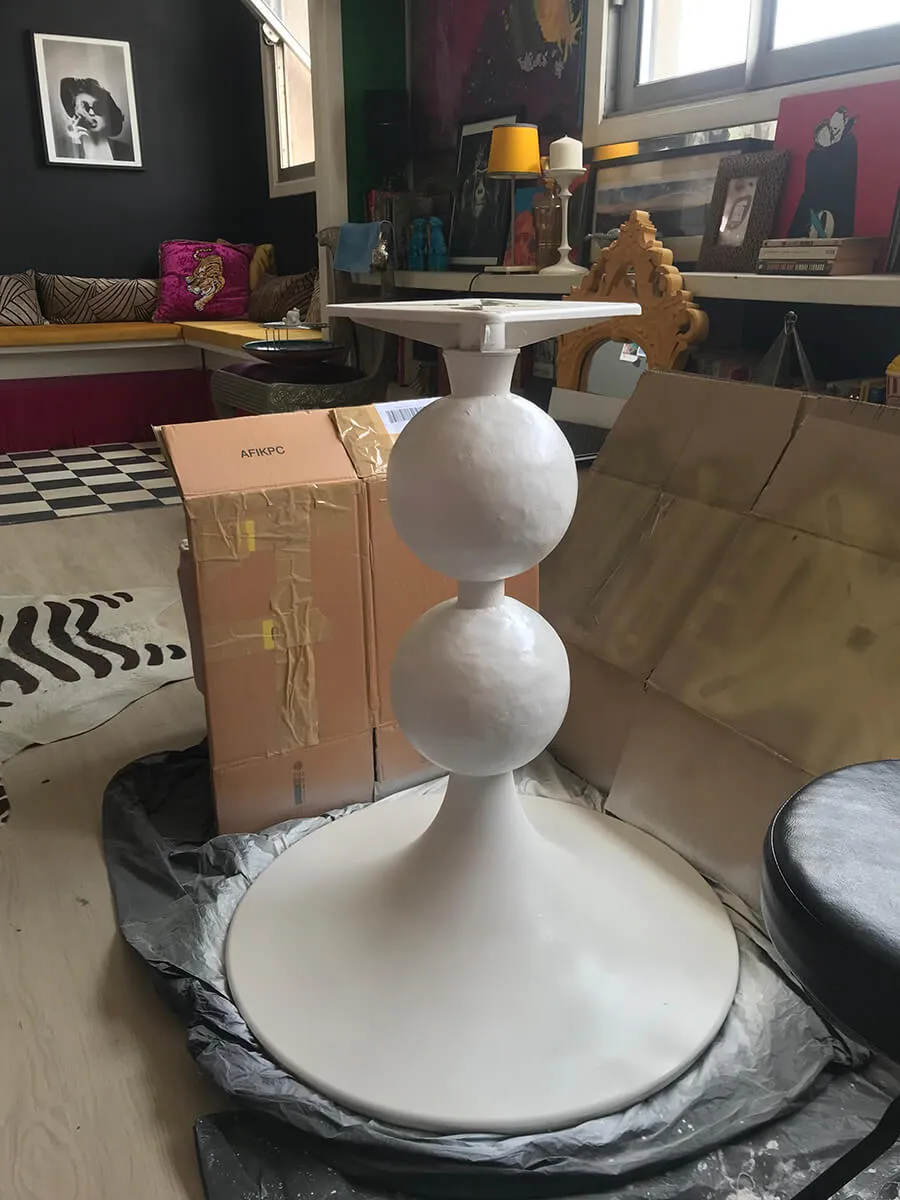
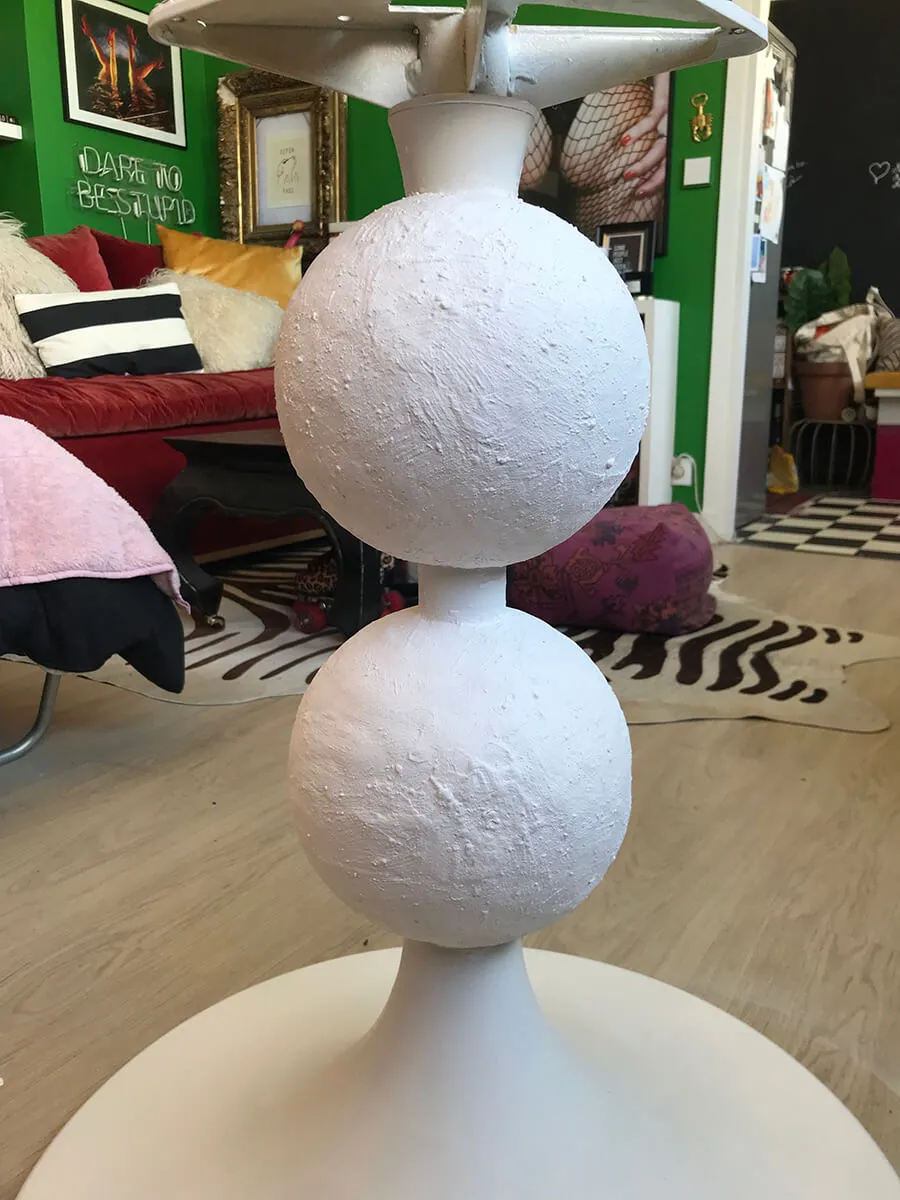
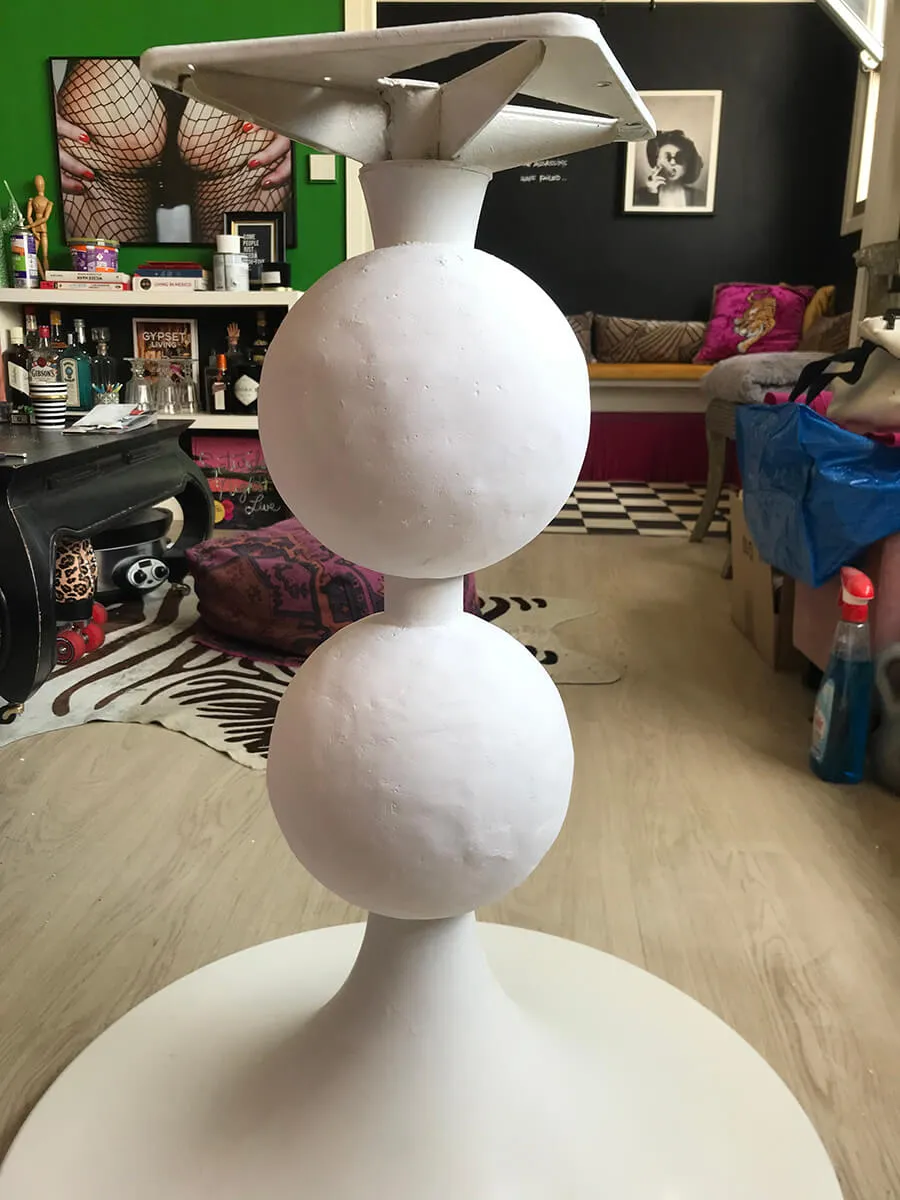
I did a few touch ups with Plaster of Paris by hand but overall, I have my final shape ! It’s not perfectly round and smooth but for a mix of Styrofoam, plaster rolls and expanding foam – I’m honestly very happy with the result and this works for me ! Besides, perfection is boring 😝 I start spray painting the new base and soon the table top too – and then varnish, varnish, varnish for that glossy glow ! 🤩
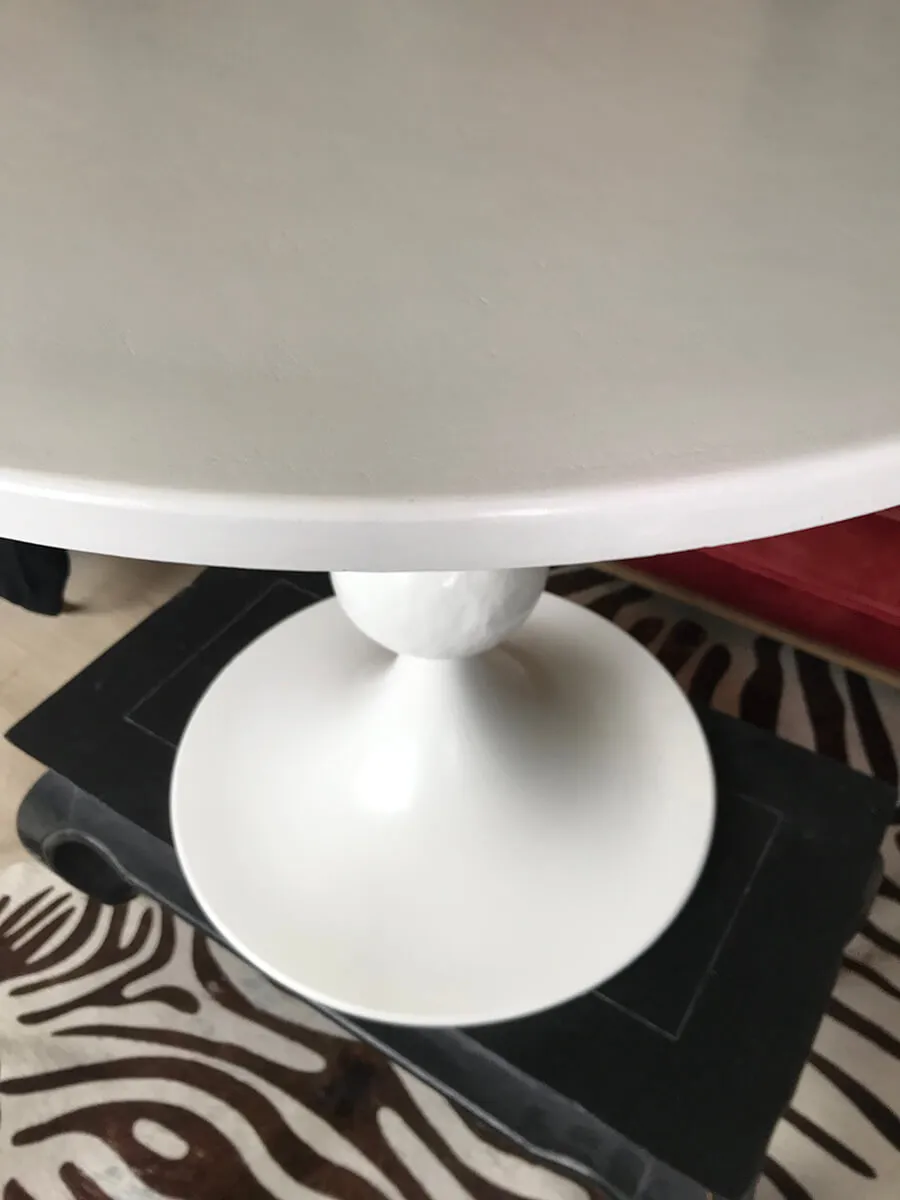
Ok so right here, I’m feeling good, things are working out perfectly, it’s shiny and adorable and I am digging it !
But, I decide, it needs the gold rings to really make the bubbles pop, right ?
First try ! The middle one is looking great to me so I just have to figure out the top and bottom ones since that’s where the base curves, which means it’ll be wider. Still using stuff from around the house, I cut up some empty toilet paper rolls from the recycling – fancy, I know – to see how it looks and I’m still pretty on board !
But once they’re up and semi painted to get a sense of it, yikes. Not a fan anymore ! It’s hard to see because technically in photos it wasn’t that bad, but in person, I started to haaaate it lol. It just felt … bulky. So it’s time to switch gears, thankfully they’re not glued on since I was testing it out, so I removed everything and headed out in search of a replacement.
I need something not-too-big-not-too-small and a little curvy.
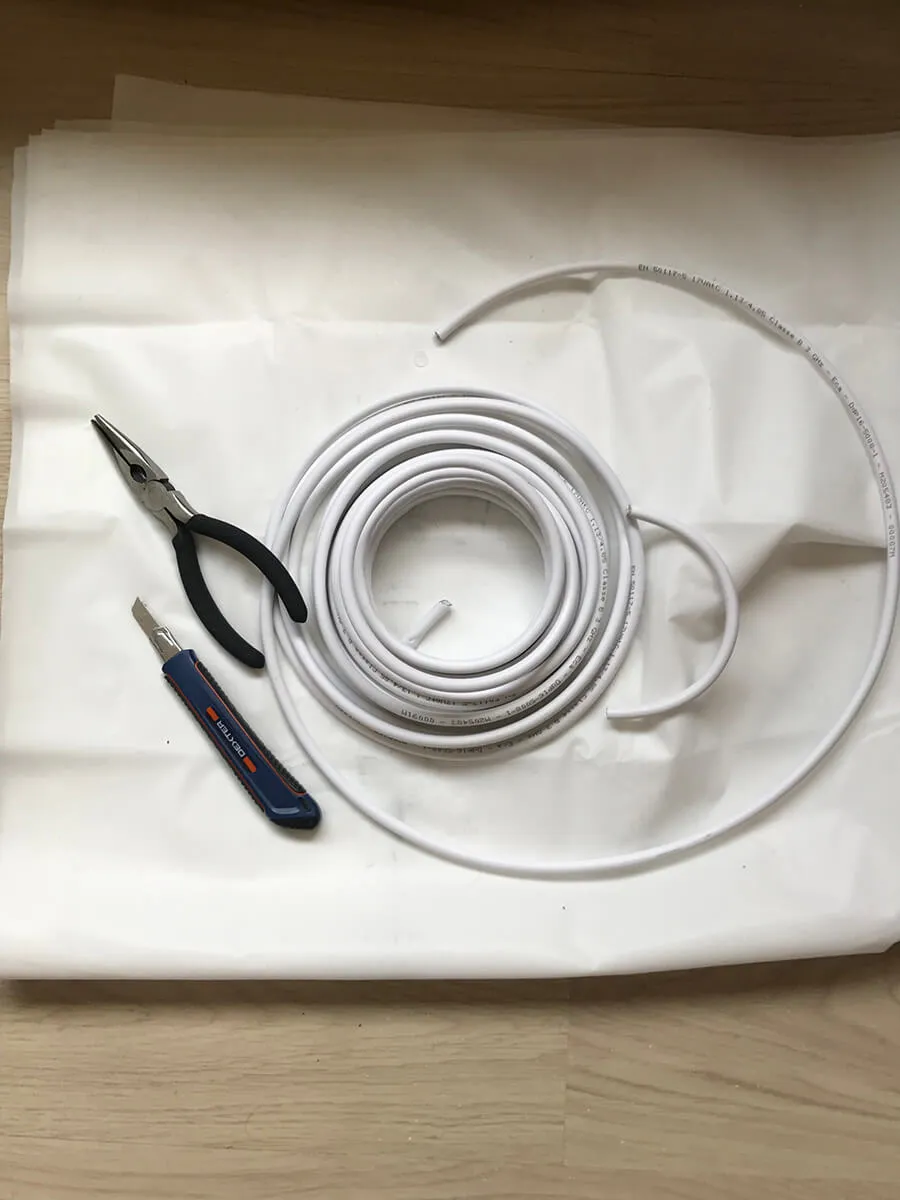
After debating rope for a while I decide to go with electrical cable, and with a little glue and patience, voilà, much better !
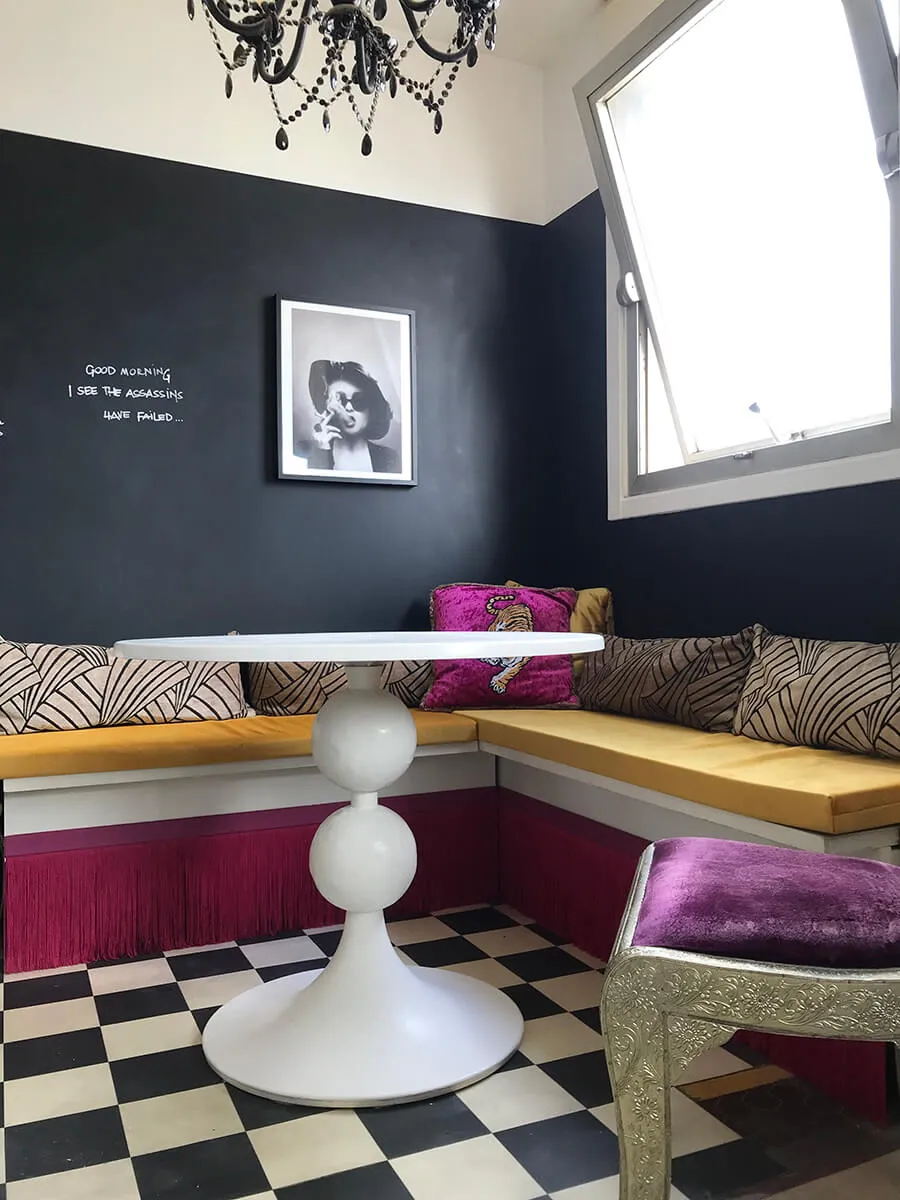
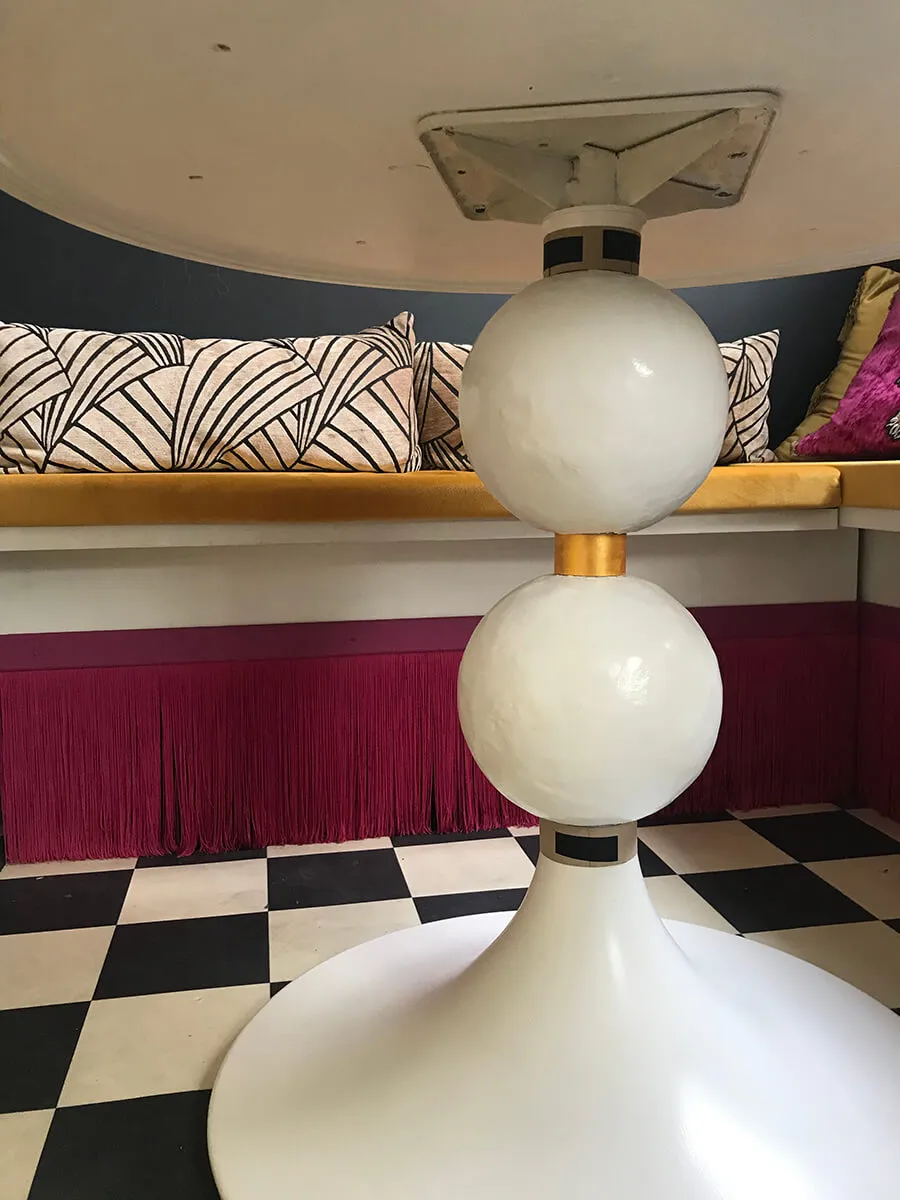
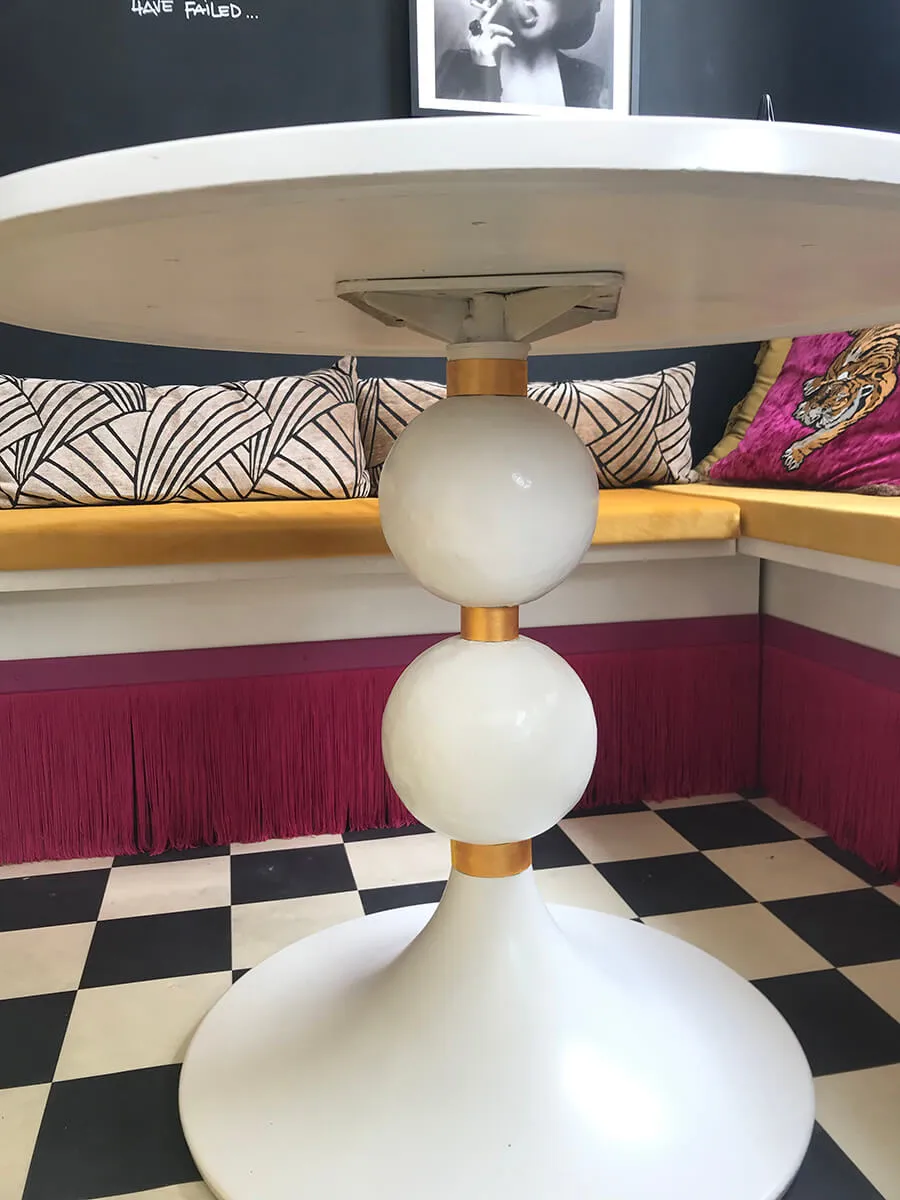
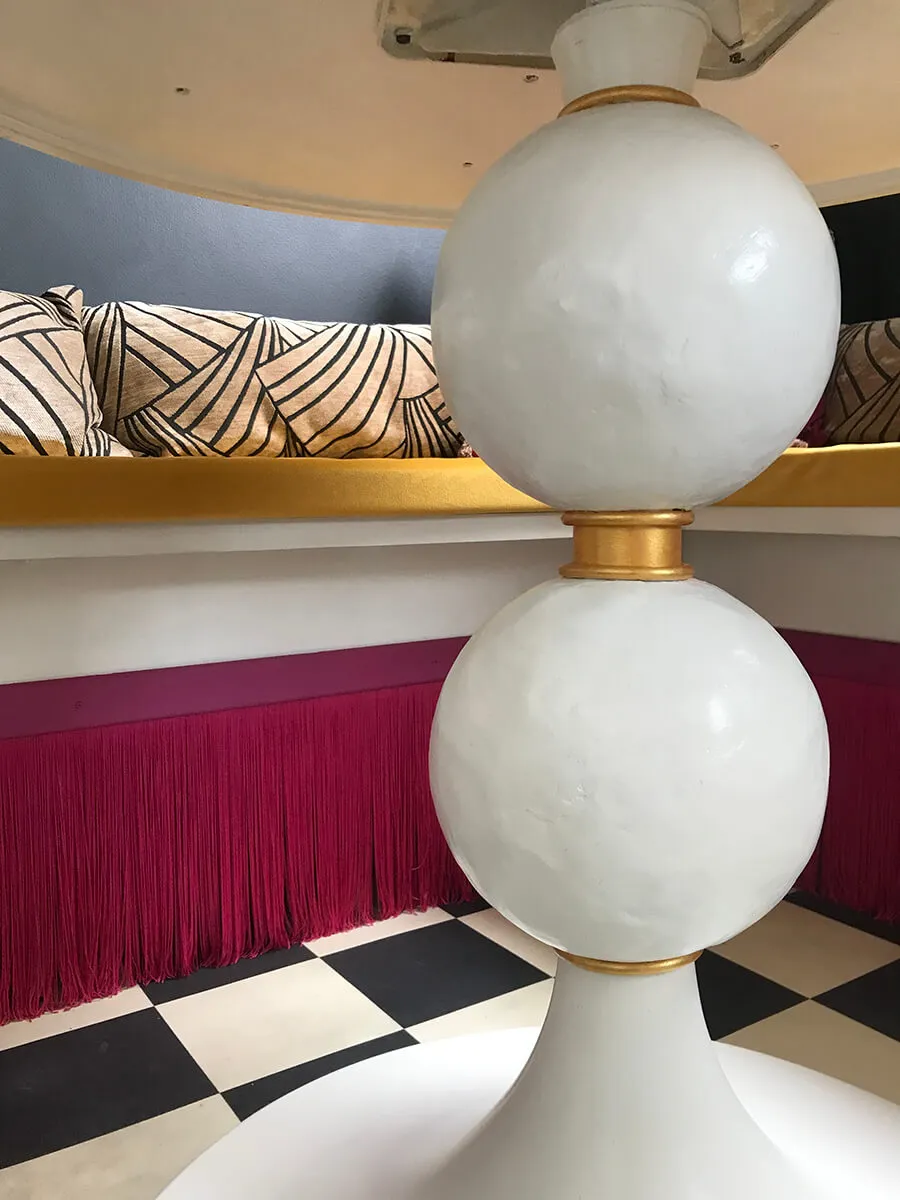
I just kept the middle piece I liked, wrapped the cord on the top and bottom of each bubble and painted them all gold (which took like 15 layers lol). It’s lighter visually but still gives it a little fun touch, just what I was hoping. And we are guess what, we are DONE !
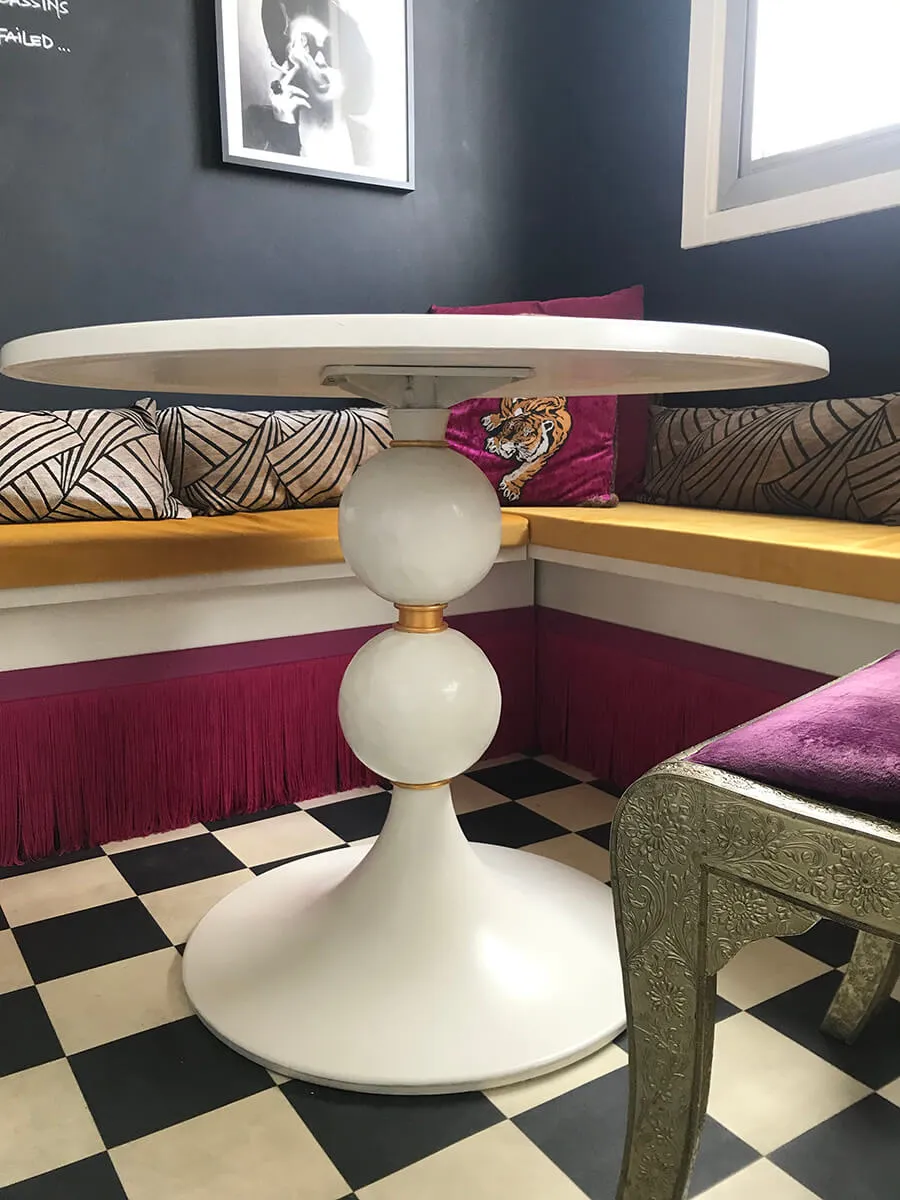
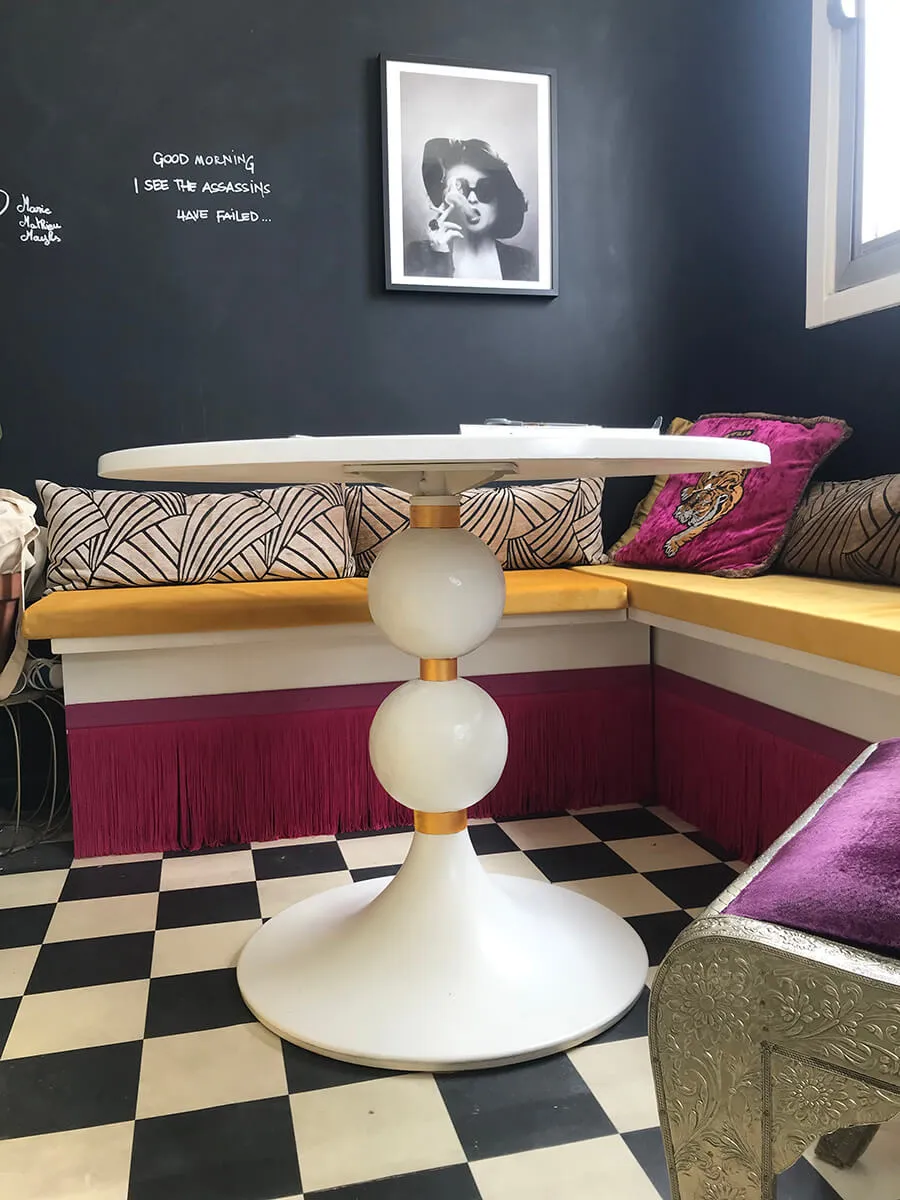
Isn’t she a cutie ? So this is a reminder that DIY is about getting creative with – ideally – very cheap out of the box items or things from your garage ! I got myself an adorable new table with a random ass collection of weird Home Depot buys so start brainstorming !
I can’t link the exact products I used since I’m in France but with our prices this is the complete breakdown for this creation :
Ikea Table (Thrifted) : 20 $ / 2 Styrofoam Balls : 15 $ / Plaster Rolls : 15 $ / Expanding Foam : 8 $ / Electrical Cord : 10 $
I already owned white Spray Paint, varnish and gold paint, but all are pretty cheap wherever you are!
Total Cost : 68 $

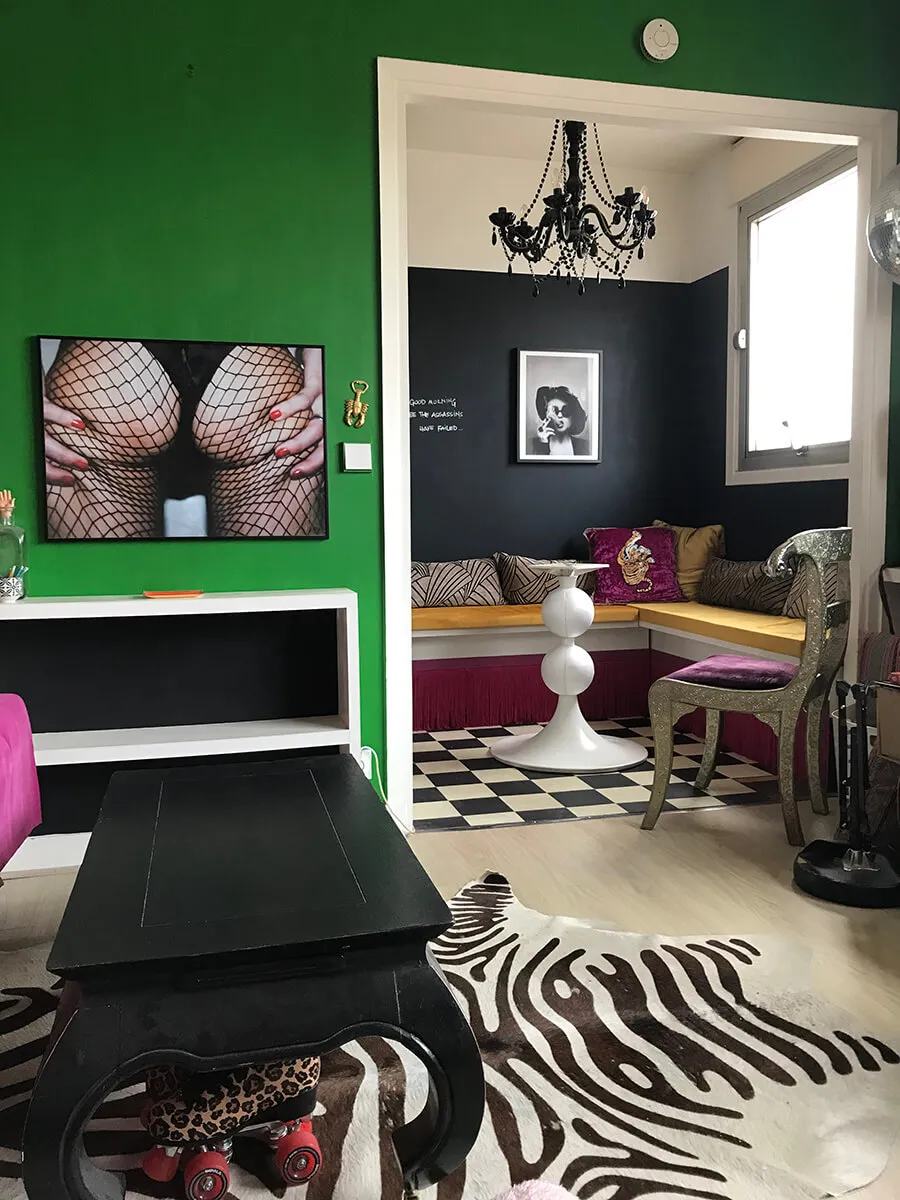
This is now my new kitchenette view 🤗
Now all it needs is new pillows … the never-ending search continues !
— Marie